SeeLevel II Repeater | RV Mods
The See Level II tank monitor we installed in the coach to allow us to monitor the fresh water tank contents has been working out really great. So great, in fact, that I wanted to install another one within view of the fresh water gravity fill port at the rear of the View.
If you haven’t seen our writeup on the initial tank monitor’s installation, you can see it here:
Original See Level II Installation
When filling the freshwater tank from either the gravity fill, or the city water fill in the wet bay, many times I wanted to be to be able to monitor the level as the fill proceeds. I decided that having a second See Level II display monitor viewable from outside was going to make things much more convenient.
The display installation guide advertises that adding a second display is possible, and reading through the drawings and configuration steps confirmed that it was going to be a pretty straighforward mod. As usually is the case, it would have been easier to add a second monitor at the same time as I added the original system. I think the hardest part of this second display installation was trying to remember how I wired up the first one! After going to the original installation’s webpage on our2020view.ca and reading my notes, things came into focus and I was able to make sense of the wiring harness tucked away under the bed.
It is necessary to isolate the power wire coming off of the 12 volt DC fuse panel bus and going up to the main coach display, the blue wire feed coming from the tank senders and going to the main coach display, and the ground wire returning from the tank senders and going to the main coach display. With these three feeds to the main coach display’s pigail harness isolated, it is straightforward to splice into them to feed the repeater’s pigtail harness and have the repeater display monitor what the primary coach display is showing.
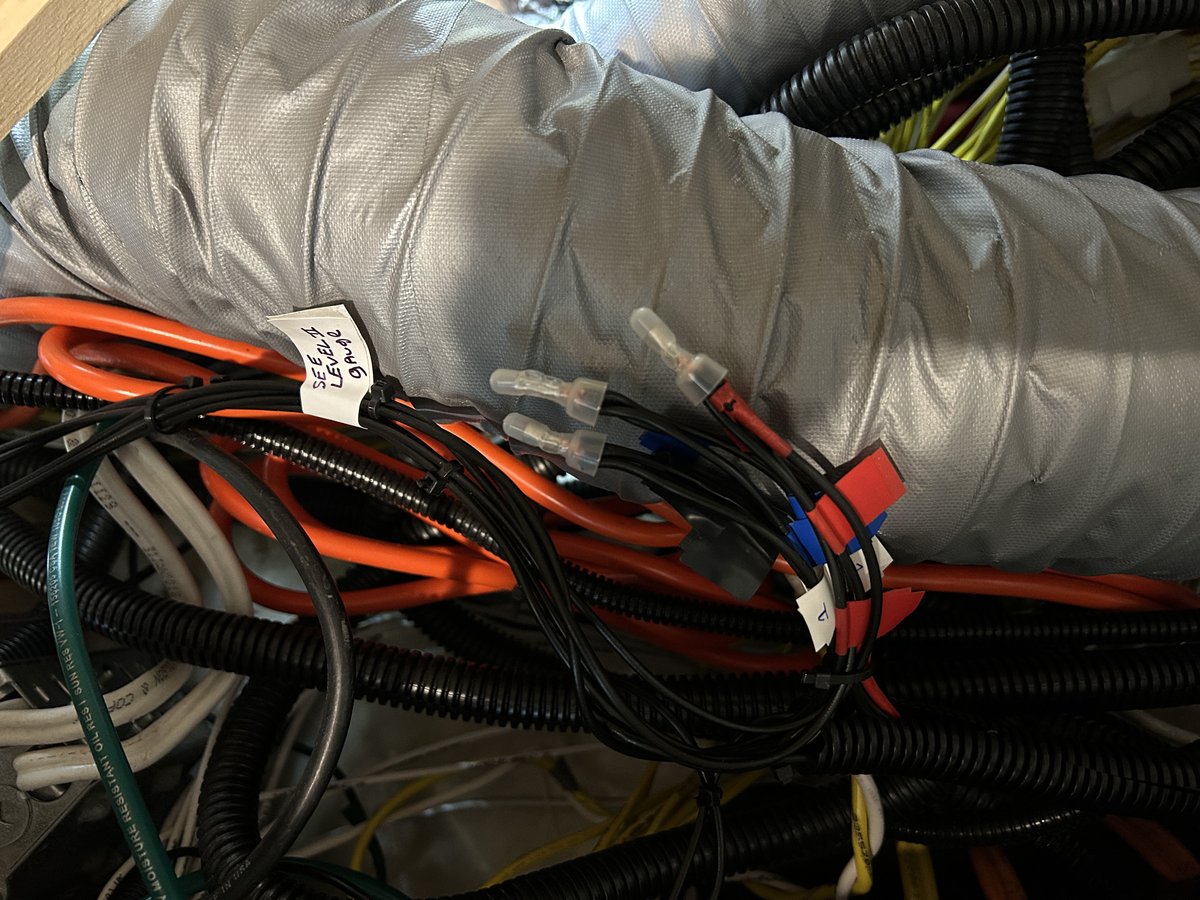
Before I made the final decision on where I wanted the repeater display to be mounted, I first did a test wiring of the repeater display spliced into the primary display’s wiring. Because I was doing this wiring as an afterthought to the original installation, I needed to make sure I knew which wire was which. I numbered each relevant wire with an upstream and downstream label, bracketing my chosen cut location, not knowing at the time which was which… the power wire coming off of the fuse panel was pretty straightforward to identify, but unfortunately the ground wire and the sender wire were were not identifiable. I cut the two non-power wires inbetween the numbered labels, and then identified the ground wire by using a multimeter to check for continuity. Closing the circuit using the main ground next to the fuse box and connecting each of the two suspect wires in turn identified the ground coming back from the senders. The remaining wired was the sender wire coming from the tanks.
Here is the wiring mock-up I did prior to the final installation - I used wire nuts for the connections as a temporary measure:
The displays needed to be configured as primary and secondary, as per the display installation guide.
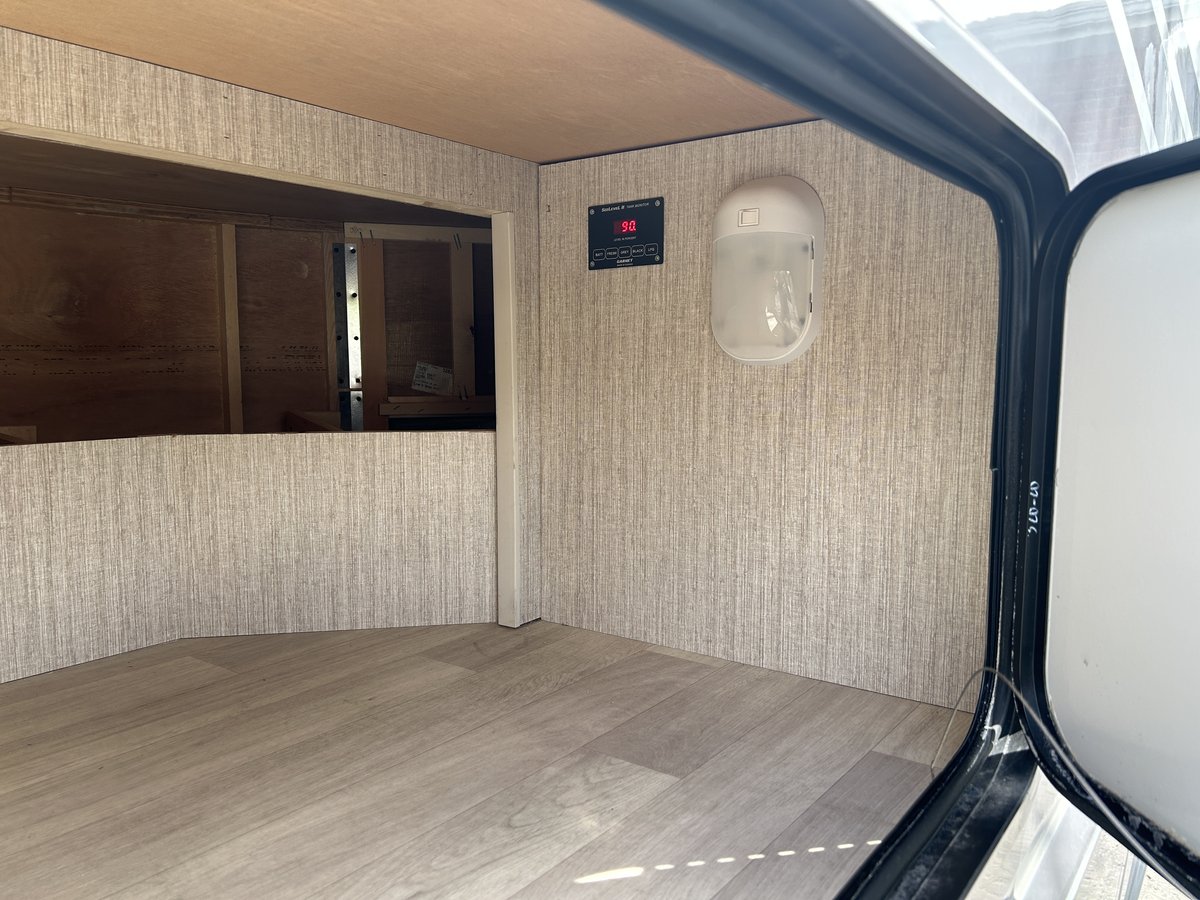
With the confidence that the addition of a repeater display was actually going to work, I moved on to deciding where to mount the new display. I chose to make the display visible from the freshwater gravity fill outside location, as that is where I do the majority of my water loading. The spot chosen was inside the cargo compartment under the bed, attached to the same wall that the cargo light is attached to. With this mounting location I could open the cargo door and easily monitor the fill. I made a template from the one provided in the display installation guide, and squared up its position to see if I liked it:
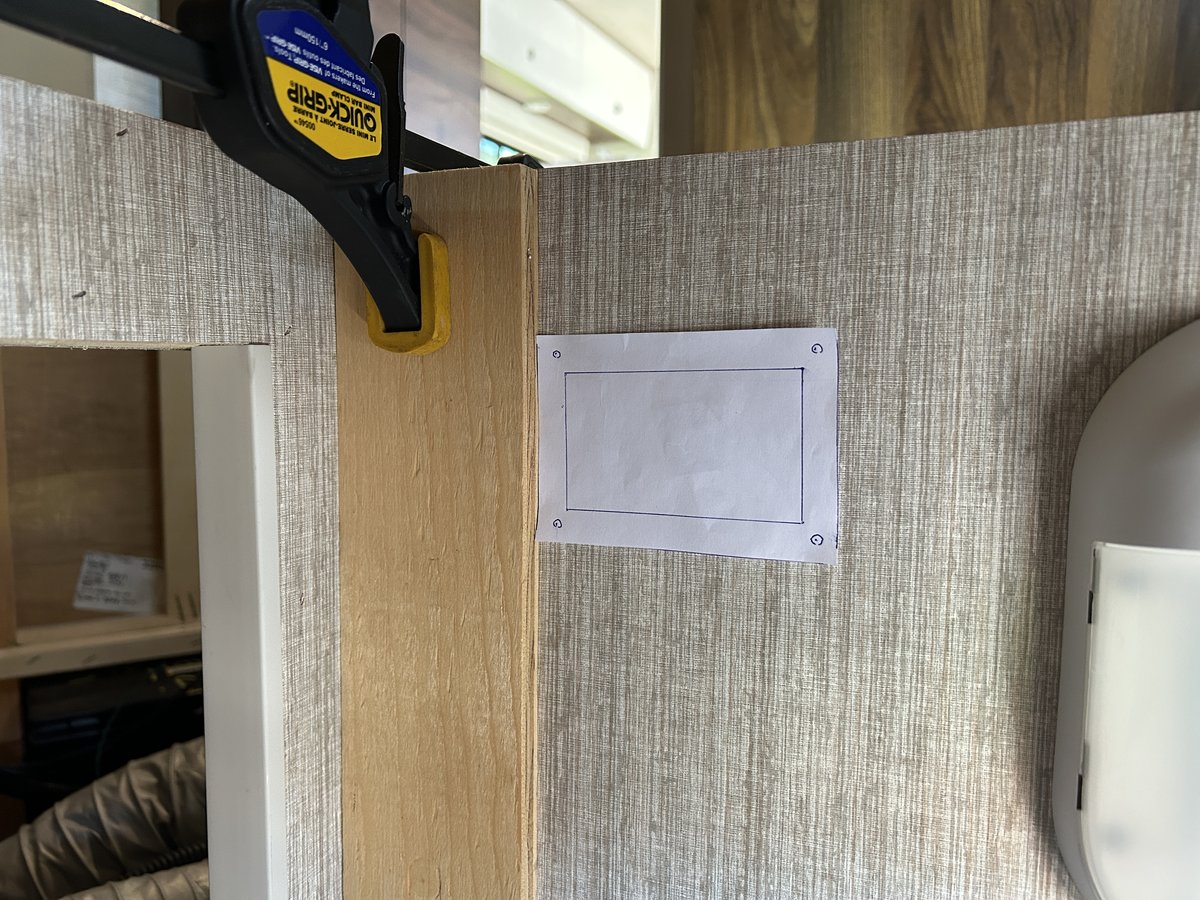
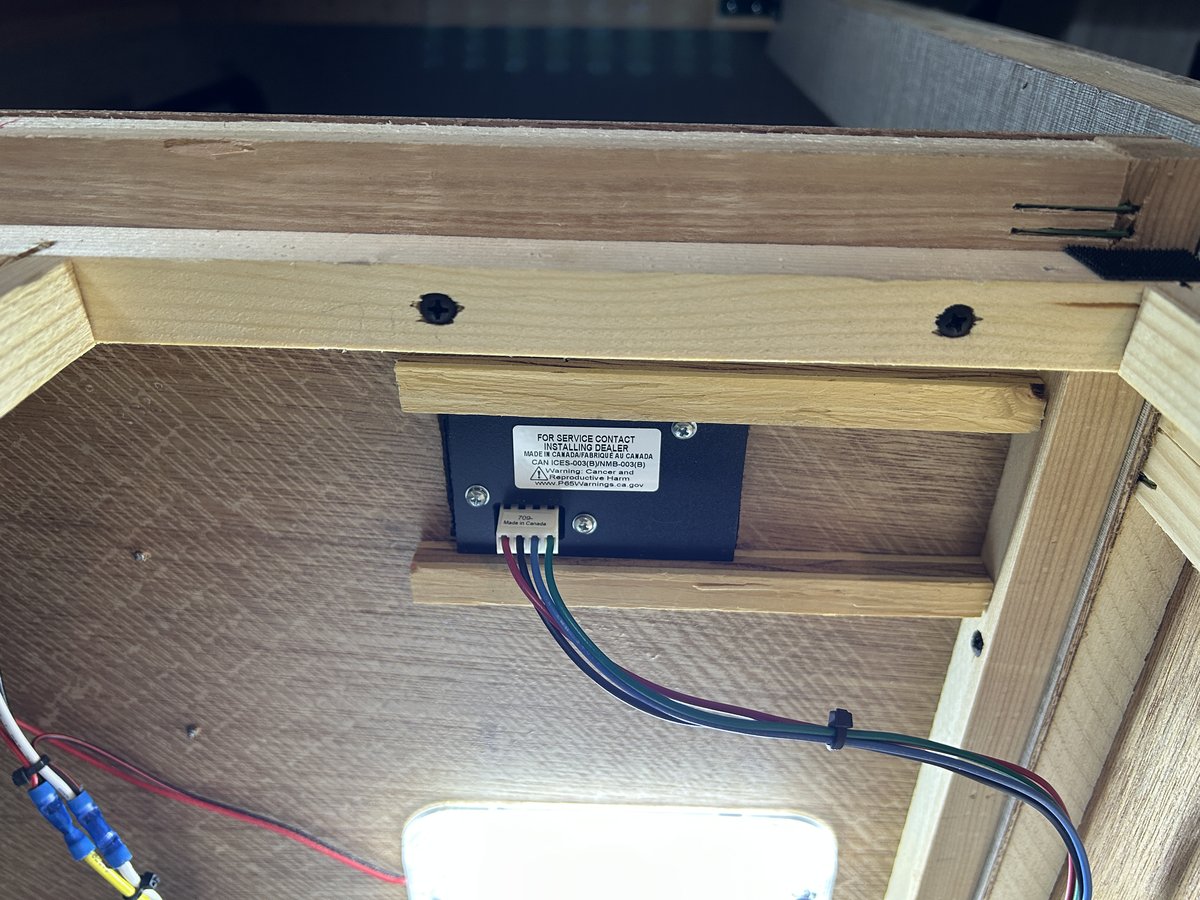
I used a reciprocating saw to make easy work of the required slot, mounted the display using some half inch plywood as reinforcement for the securing screws, and wired up the pigtail harness that came with the display with some three foot wire extensions - required in order to allow the wires to make their way out of the Truma box to where my connections to the original wiring were going to take place.
The back of the monitor, secured tightly to the the half inch plywood:
The final splices (power wire, ground wire, and sender wire connected to the wires from the main coach’s display):
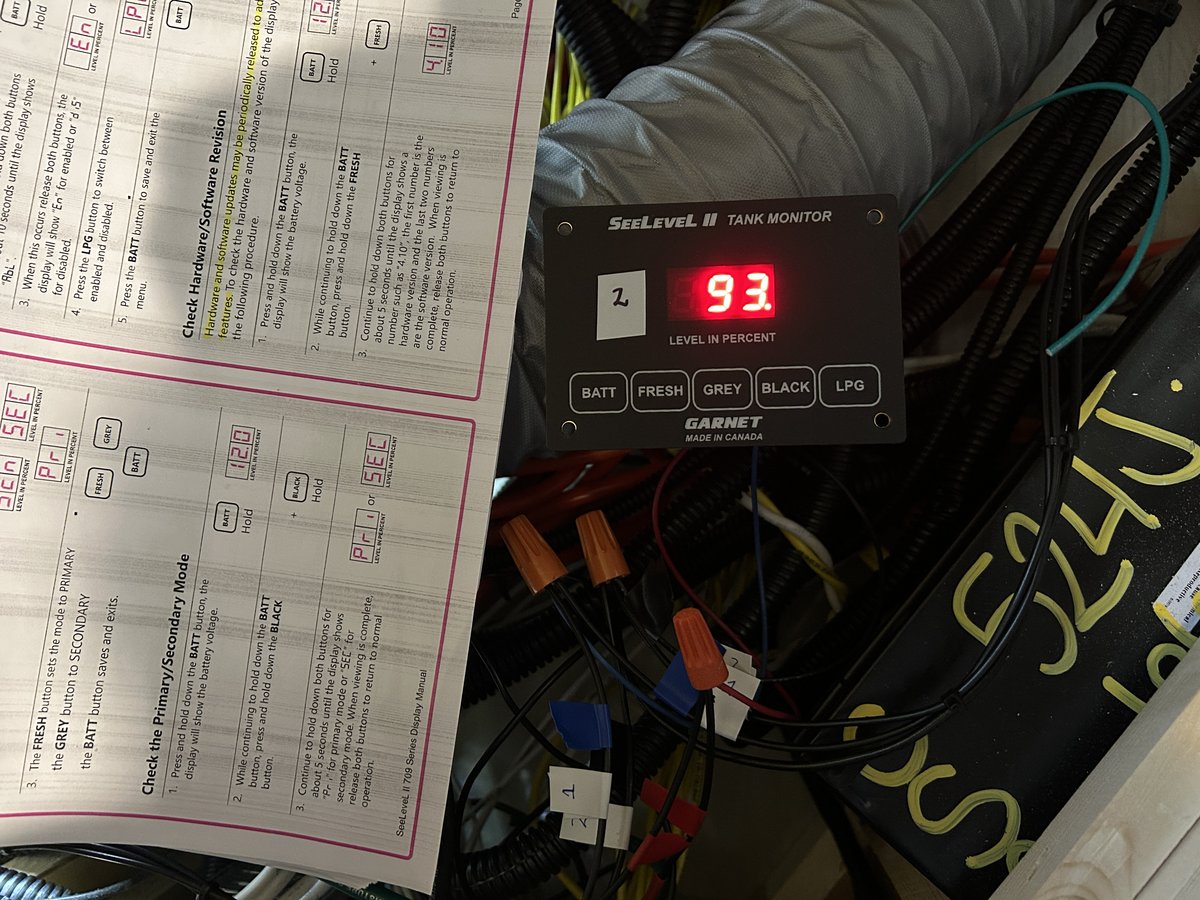
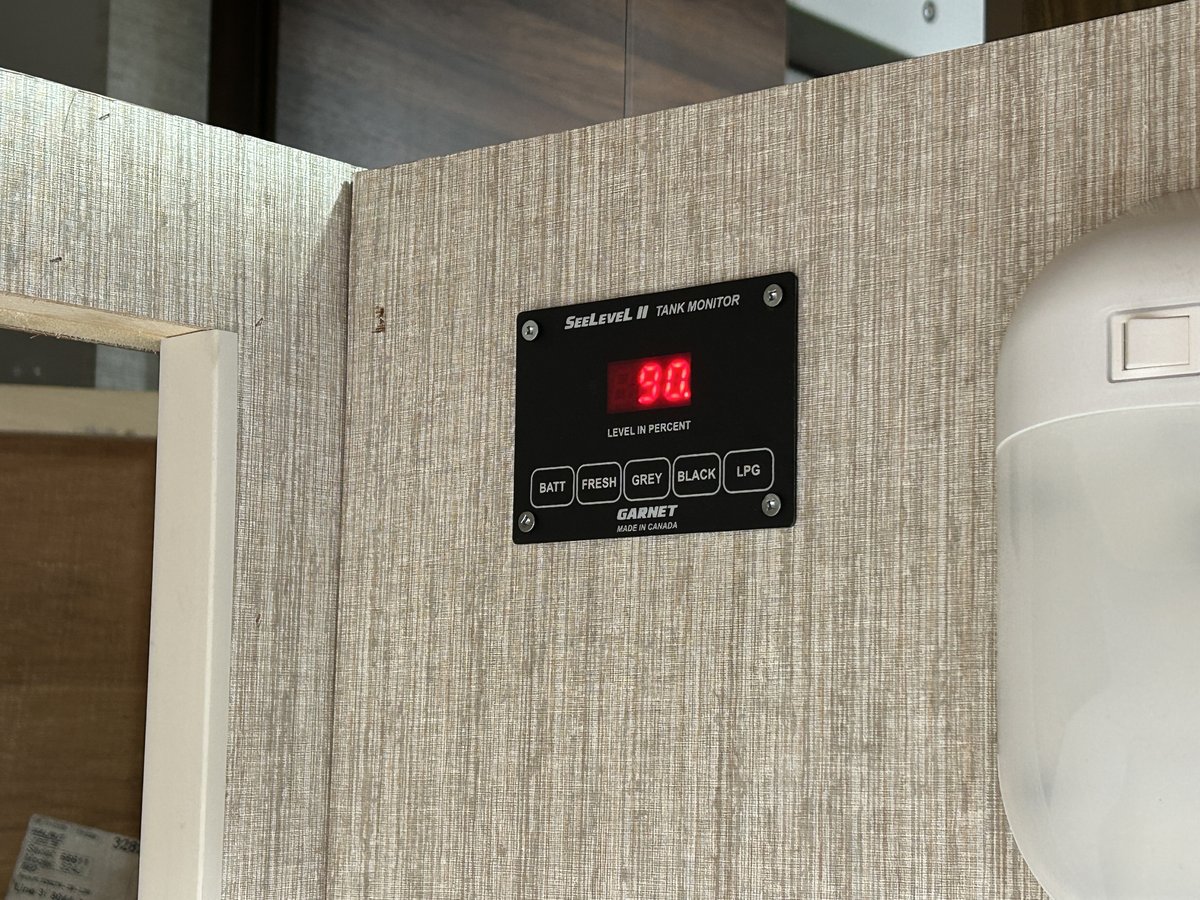
The installed repeater display:
And the view of the display from the gravity fill exterior location:
Working as planned.