RV Extra Power Outlets | RV Mods
I don’t know about you, but I’ve always wished I had some power plugs at both ends of the table. In the View / Navion, the left end of the table has plenty of 12 volt power in the bottom of the overhead cabinetry, and also has 120 volt household power under the left end of the side bench seat. However, with two working at the table, someone is always “borrowing” power from the other end to keep their laptop running and their devices charged.
The plan to get 12 volt and 120 volt household power to the front end of the table has evolved over the last while. Originally I was going to just install another 120 volt receptacle in a mirrored location to the Winnebago one, and install some USB power buttons in the bottom of the cabinetry similar to the current design. When it became clear that it was going to be more work than I wanted to do to get 12 volt power to the front end of the dinette cabinets, I came up with the idea to get one of those 120 volt receptacles with the built in USB ports. The down side to this decision would be that I’d need shore power, or the inverter on, to get USB power from that outlet. Not ideal, but I moved ahead with researching how all of that would play out.
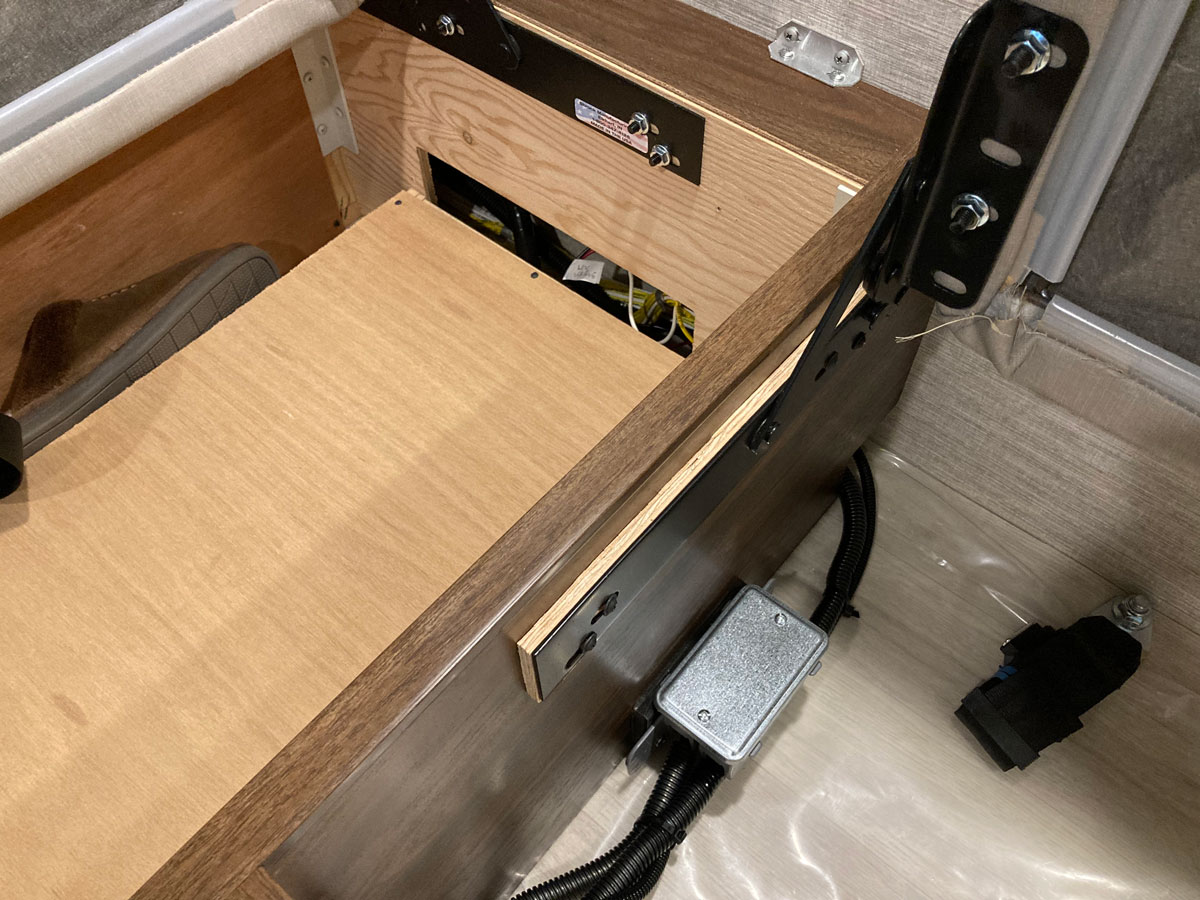
The key to adding another 120 volt receptacle to the bench area is to splice into the wiring for the current plug. That wiring is stored behind a protective cover box at the left hand end of the 24J side bench storage:
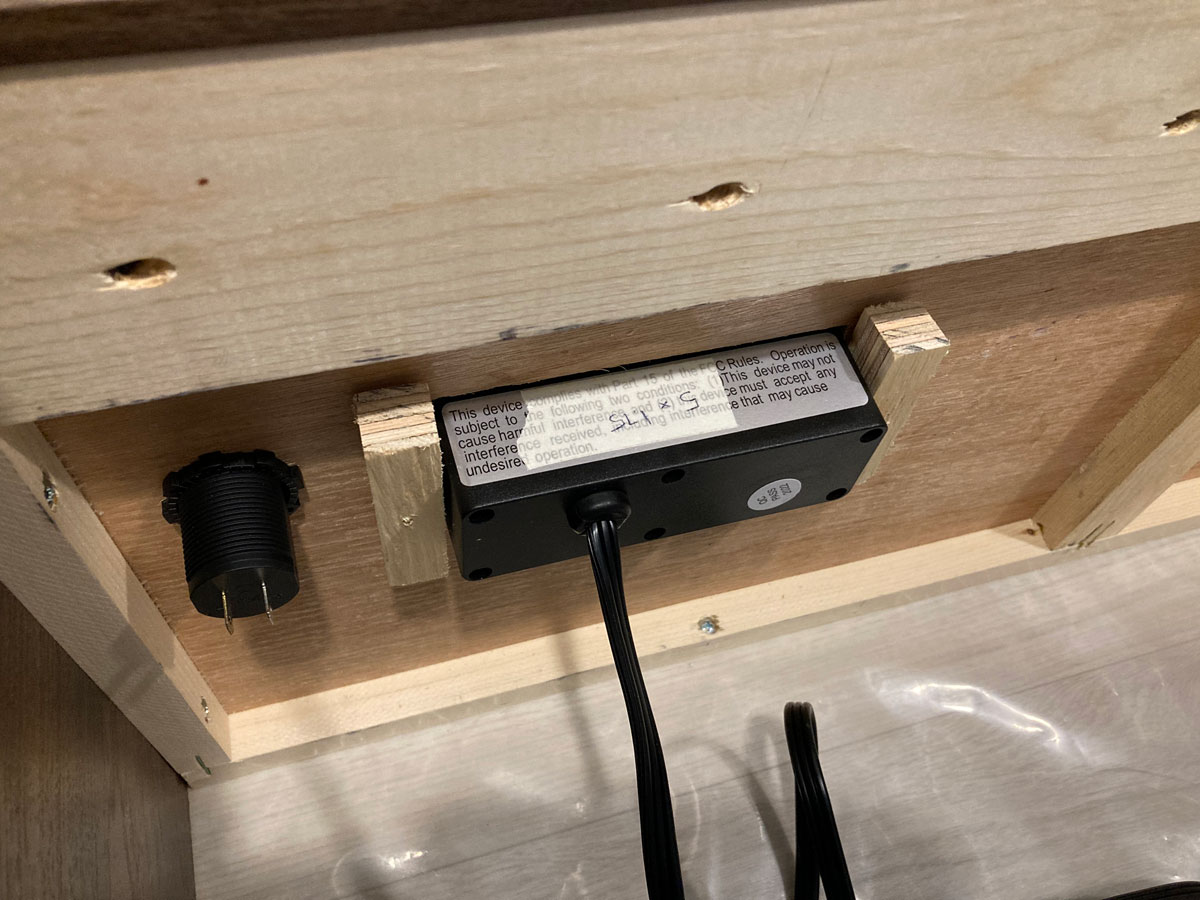
When removed, the wiring to the receptacle plug was as expected, but there was also an unexpected gift from Winnebago sitting there on the floor – a ready to use 12 volt connector plug:

As far as we can tell, we have a fully functional RV; we’re not missing any 12 volt functionality in this area, so the intent of this ready-to-go power lead was a bit of a mystery. Initially I wondered if it could be the connector that that the 24D model uses to hook up the motor for their powered Murphy bed, but when I traced the wire identifier code back to the 24J electrical drawings to see if it was something from our model that did not get hooked up, the mystery continued. My 2019 drawings do not show this wire at all, but the 2022 drawings show this wire code to be associated with the push button overhead lighting that is imbedded in the dinette cabinetry. I guess it is possible that this wiring was a victim of a production line change along the way – but any way you look at it, I had a fully functional 12 volt connector just sitting on the floor begging to be used. This discovery changed my plans, as now I could get both 120 volt household power to the front end of the dinette, AND 12 volt power to the same area to enable a USB button to run on battery power.
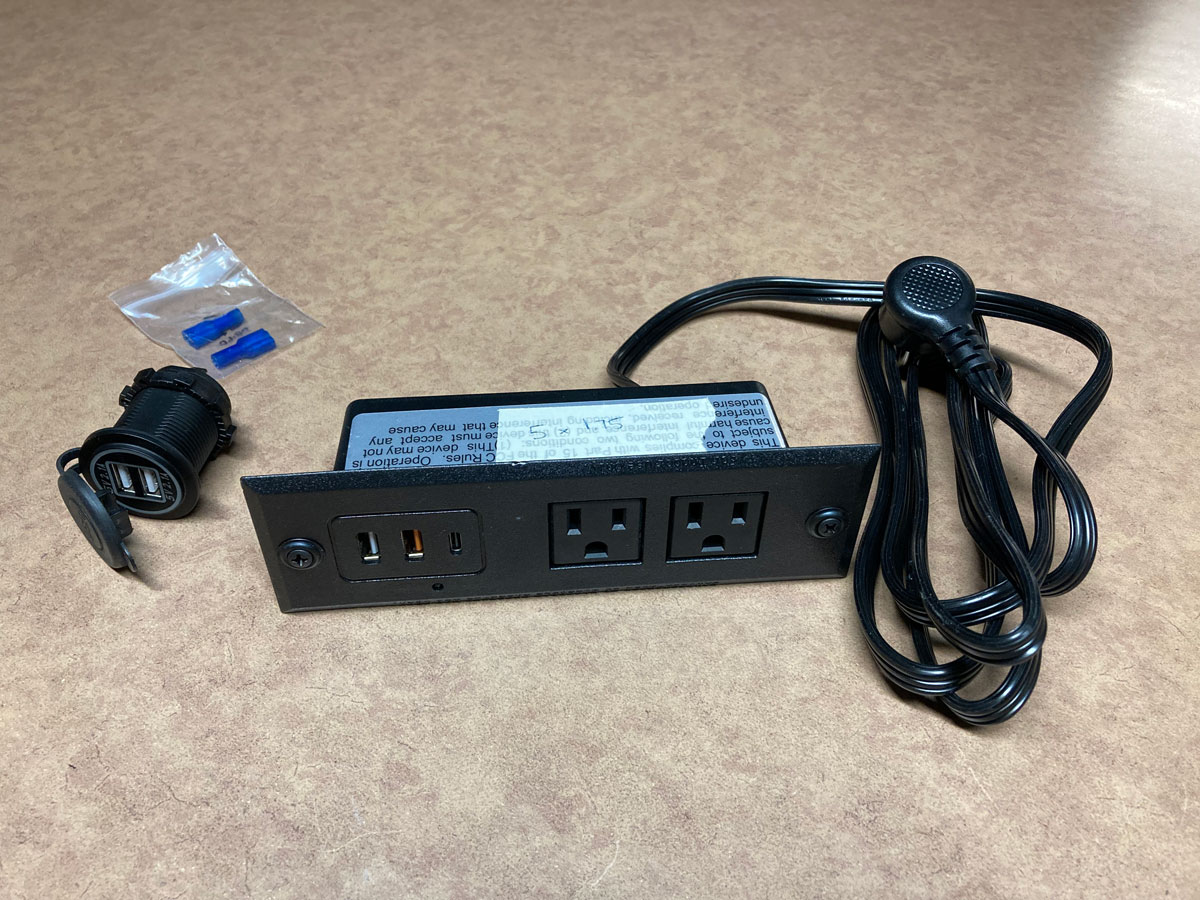
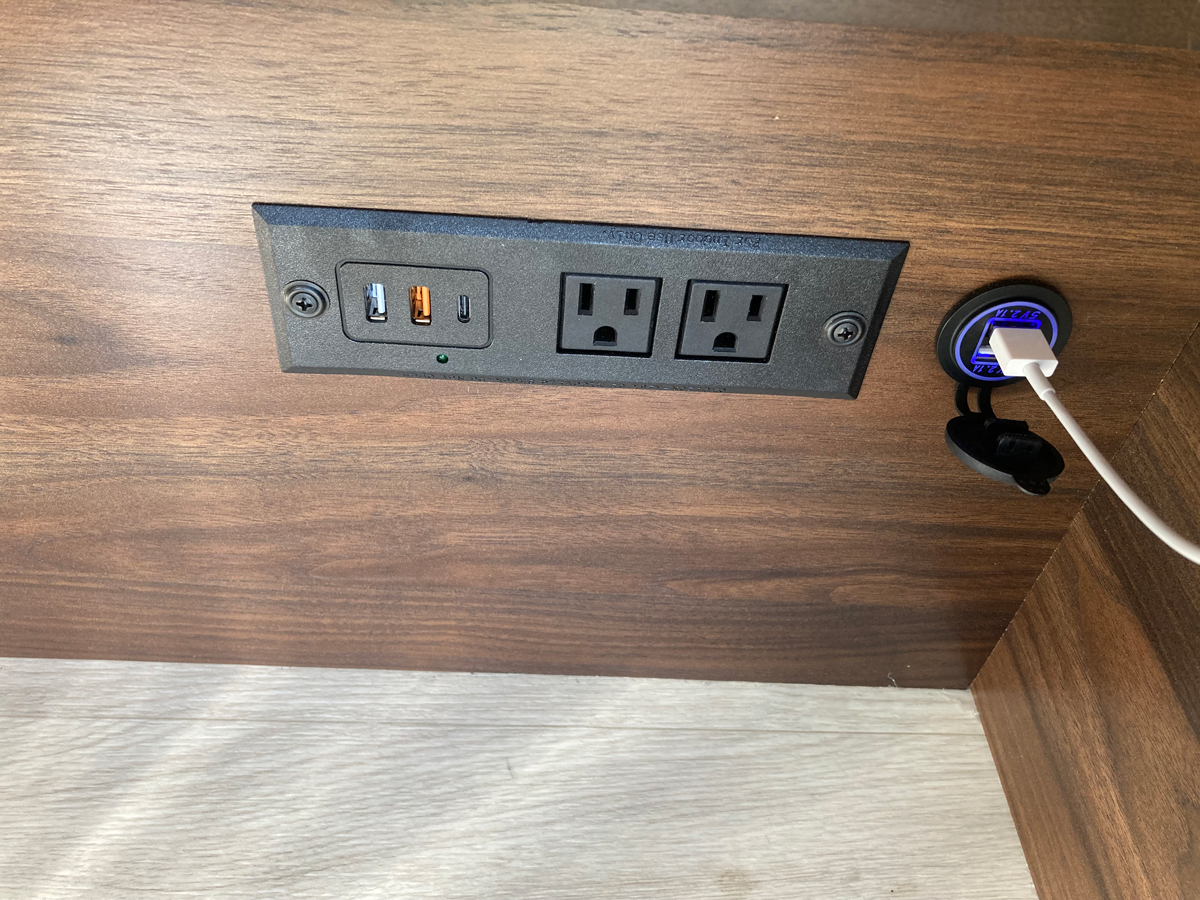
I had some USB buttons already in inventory, and it was a brilliant idea I found on a Leisure Travel Vans blog that firmed up my plans for the 120 volt receptacles. The LTV blog described a drop-in recessed furniture power panel that provided both 120 volt household current and USB ports for both the old Type A variety and the new Type C variety. In response to this great idea, I ordered this product from Amazon:
The USB charger button I had on hand was similar to this:
For the times we would be on shore power, or using the inverter, the power strip from Amazon will provide both household 120 volt power and fast charging Type A and C USB ports to charge devices. For the times we would be dry camping, similar to the Winnebago USB ports in other areas of the coach, the addition of the new USB button via the hot 12 volt lead I found would increase our charging options.
Here are the basic components I started with:
Deciding where to put the power strip and USB button was straightforward, with the only considerations being to keep things away from the cabinetry structure – and remembering not to use a level to mark the slot for the power strip. The motorhome is not level sitting on the driveway, so instead I used the cabinet structure as the level reference point.
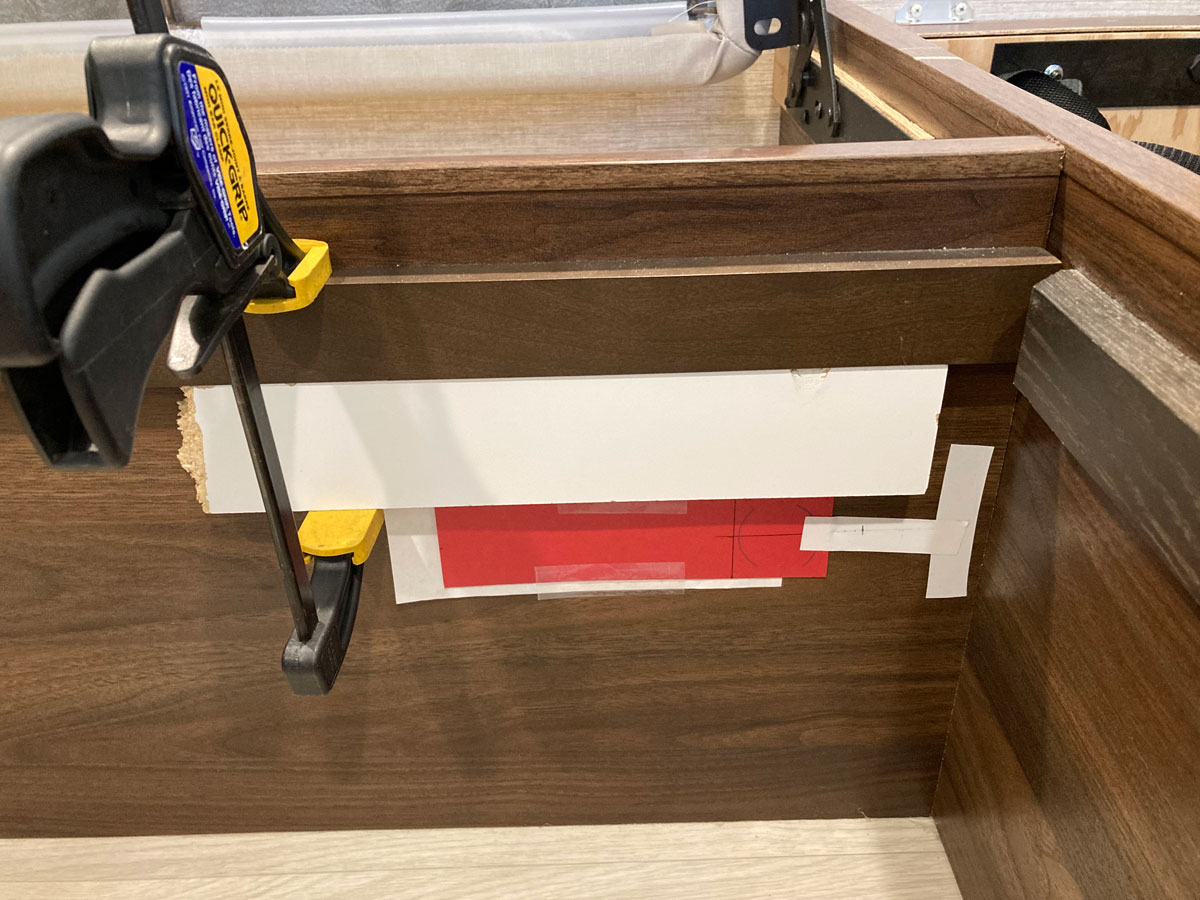
The storage box wall is very thin 1/8” paneling, so an oscillating saw and a 1 ¼” hole saw made easy work of the cuts. Knowing that there usually is a bit of force involved in pulling out an electrical cord, I wanted to ensure that the power strip was affixed to the wall securely. The screws that came with the power strip were tiny, so I cut a couple of strips of ¾” plywood to give some larger screws lots to bite into on the back side of the wall panel:
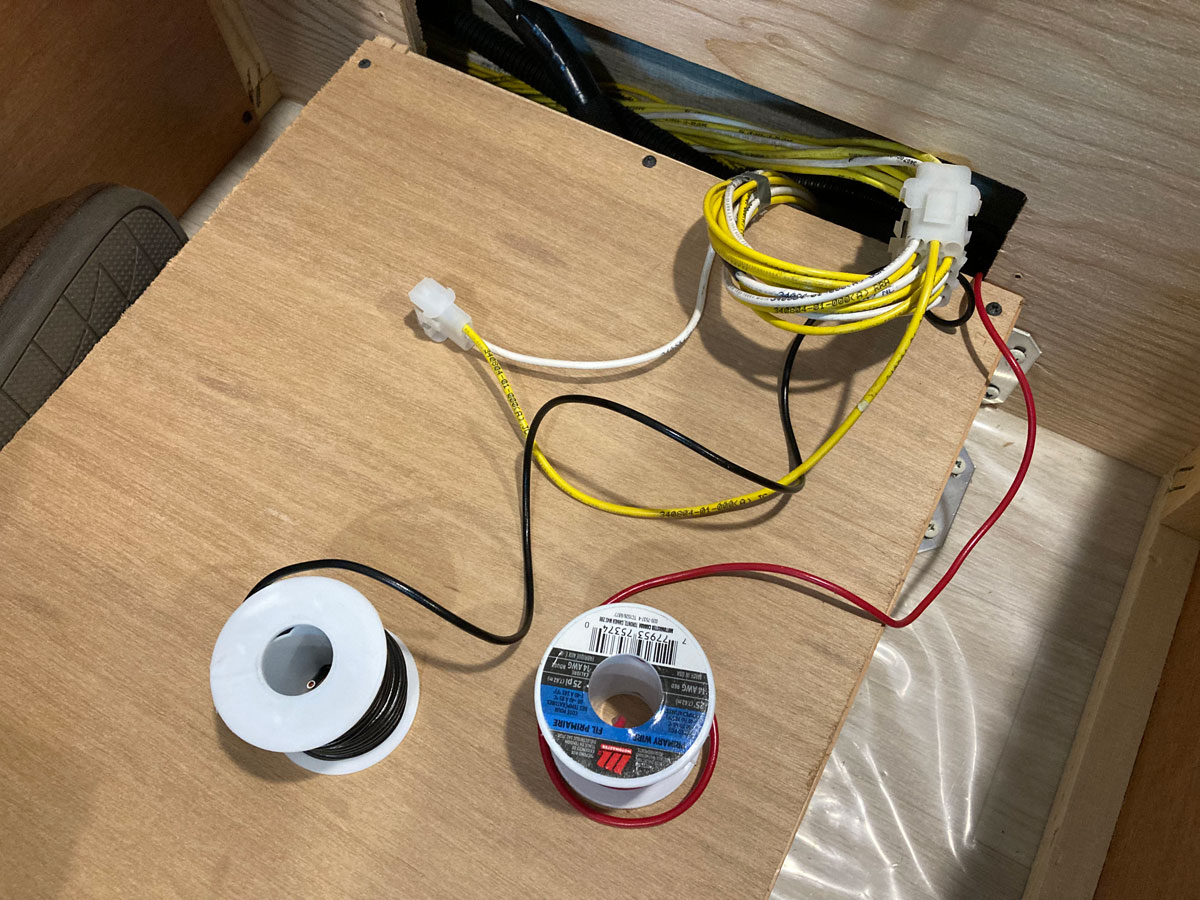
I ran some # 14 AWG wiring for the USB button, and the cable for the power strip, along the floor to the left hand end of the storage box - enclosed in some PEX tubing secured to the storage box by some SharkBite PEX clips:
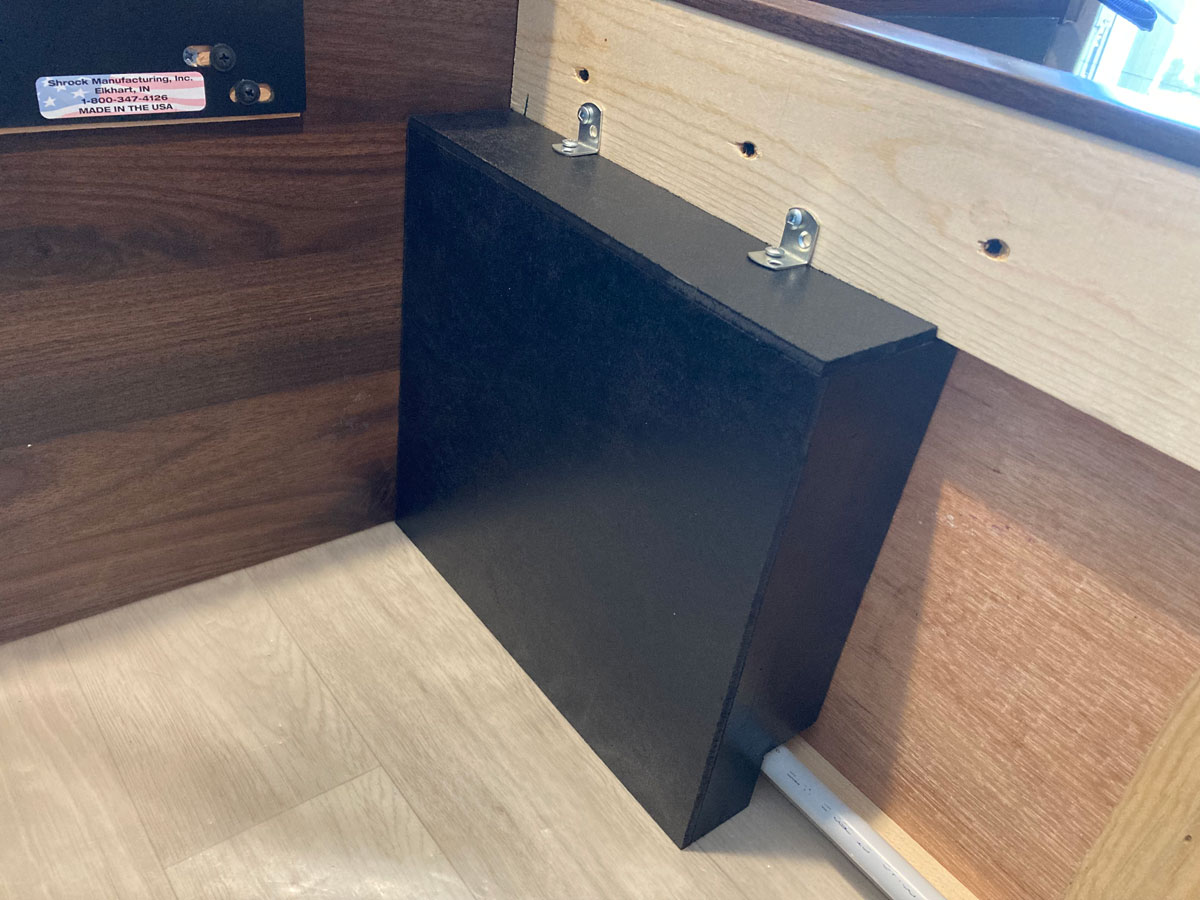
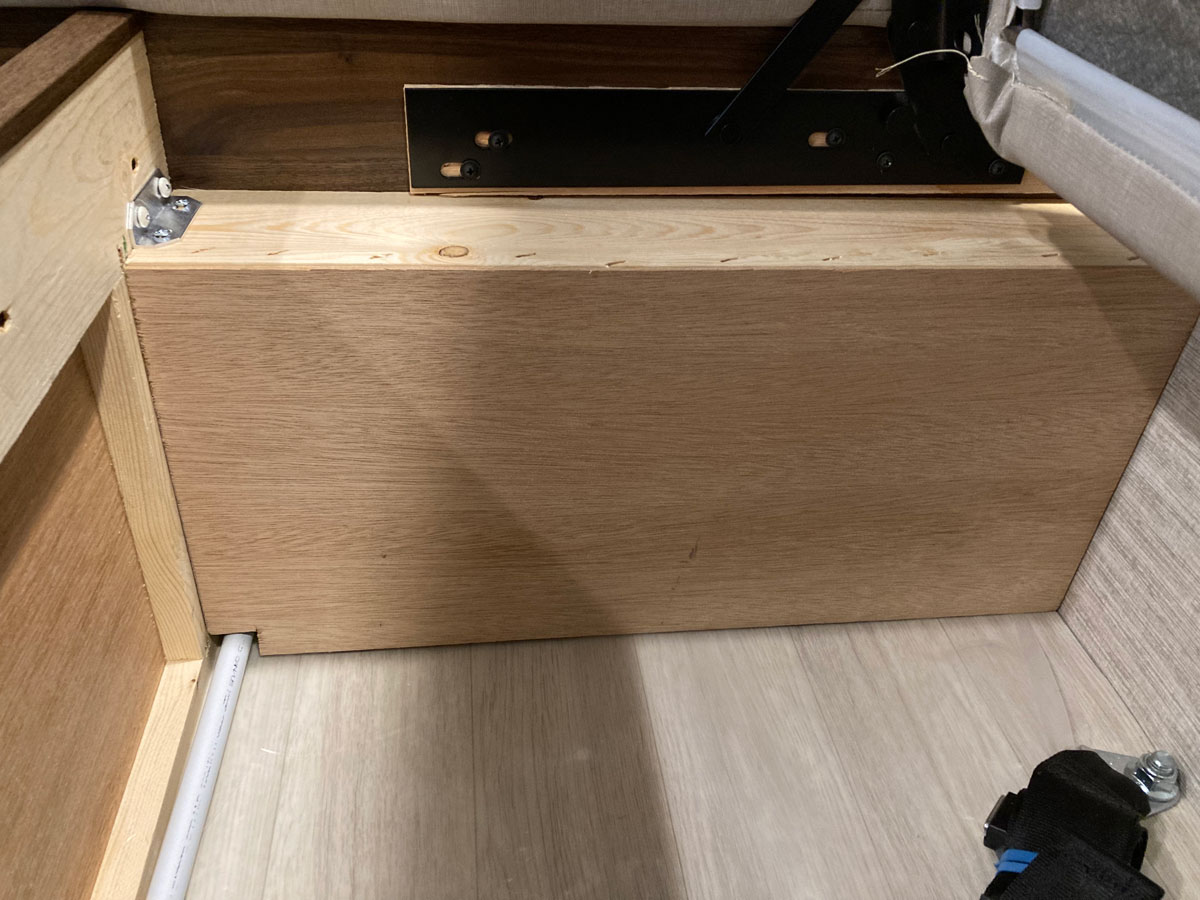
Adding a protective box around the new hardware finished up this end of the storage area:
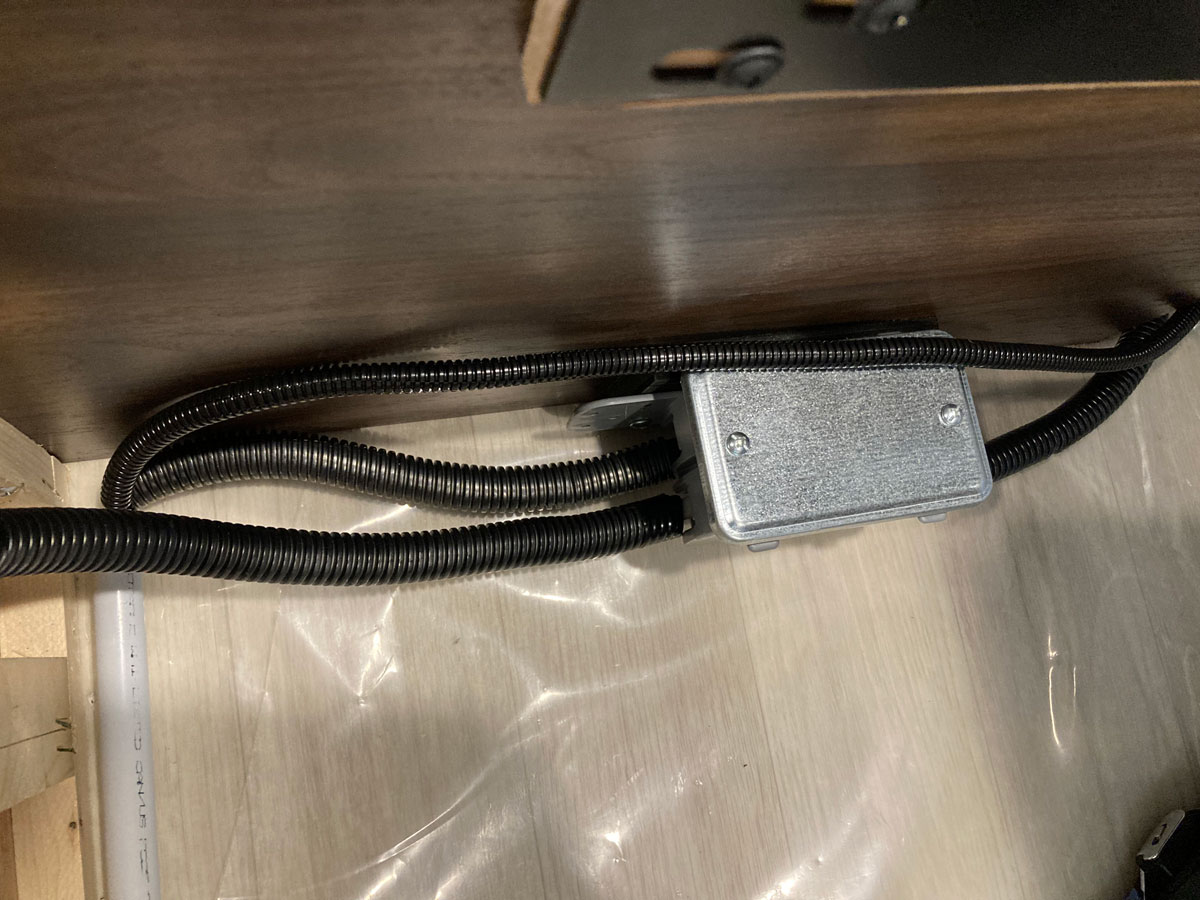
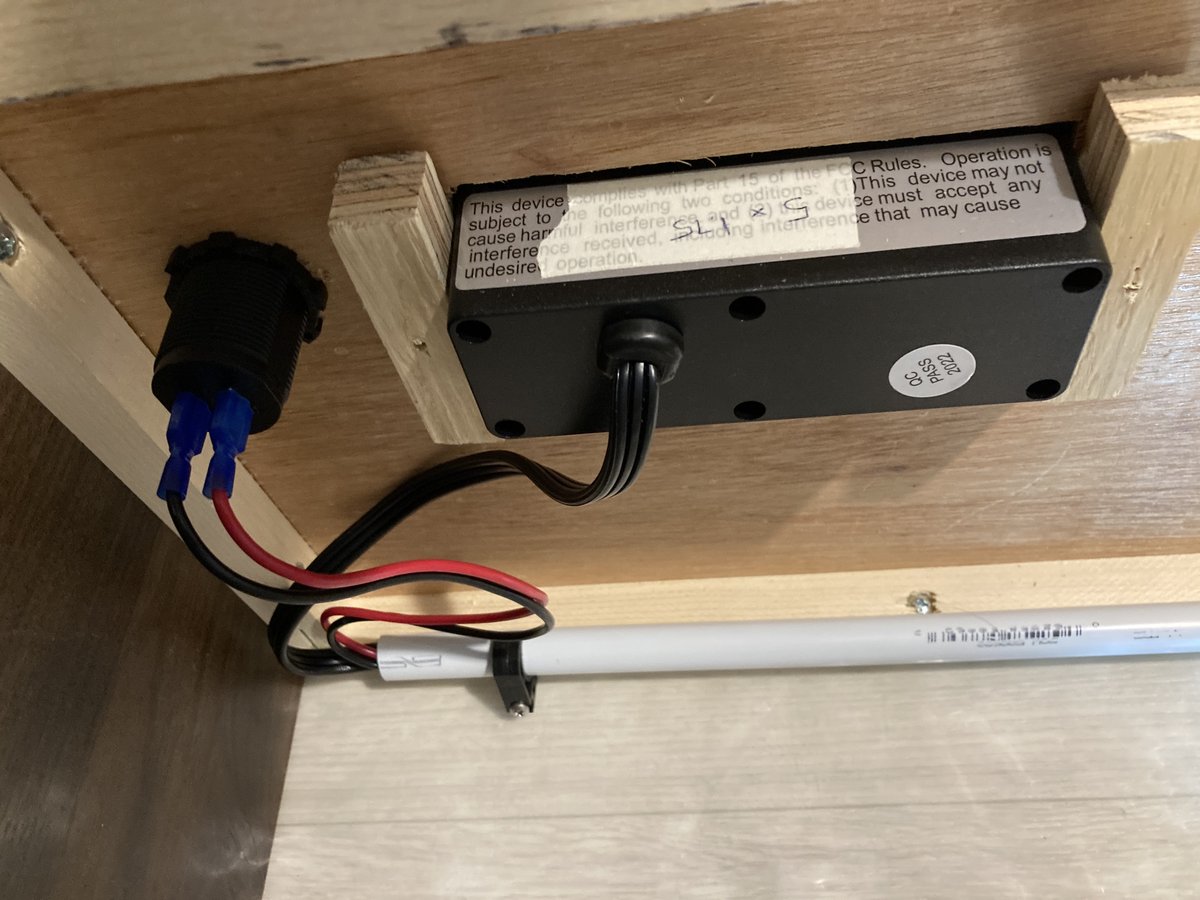
Down at the other end, an electrical box was mounted on a piece of ½” plywood, which was glued to the storage bin sidewall. The power cable from the new power strip was spliced into a break in the 120 volt power cable input I cut, and all the splices were stored in the electrical box. This shot shows the Winnebago input power cable entering the box from the right, the existing line to the the Winnebago outlet at the bottom left, the new line to the power strip at the middle left, and the 12 volt line from the USB button laying over top of 120 volt box.
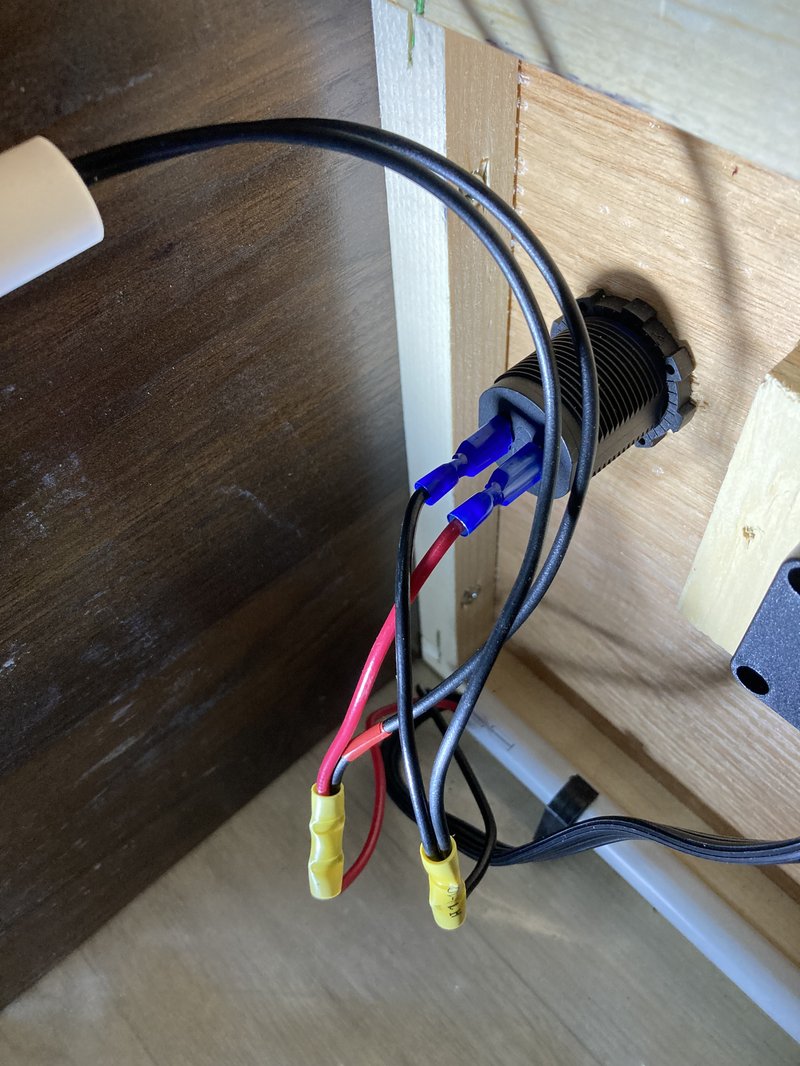
For the 12 volt lines, I elected to run them through the back wall slot and into the area at the end of the forward facing bench storage area. You can see that there is a 12 volt wire bundle stored back there, of which the 12 volt connector leads are part of. Doing this allowed more room to work while making the eventual butt connector splices:
Here is a shot of the area before I put the access panel and protective box back on:
The last thing I did was notch the corner of the protective box, in order to allow the PEX tubing to pass through:
I think the finished product looks pretty good, and certainly is handy:
Notes:
1 - The power strip is not rated for heavy duty use. This particular one I purchased is rated for only 12.5 amps maximum, so Ok for laptop charging – but not Ok for heavy loads like a heater. I plan on adding a placard to the area advising of “LAPTOP CHARGING ONLY”. These two new 120 volt recepatacles are on the same line as the Winnebago plug at the other end of the table, so care must be taken to not exceed the rated 15 Amps of that existing coach circuit.
2 – If you would like some information on basic receptacle wiring in an RV, I can recommend this video from “All About RV’s”, and Jared Gillis:
All about RV’s – Electrical Wiring
Take 2 - A Better Location for a USB Outlet
Well, after a few years of using the new USB outlet down by my feet, I decided that I didn’t like the charging chords being snagged by my leg, or getting tangled with things on the dinette seats. Sometimes with the laptop plugged in, and both a phone and a tablet charging, there are just way too many wires down at my end …
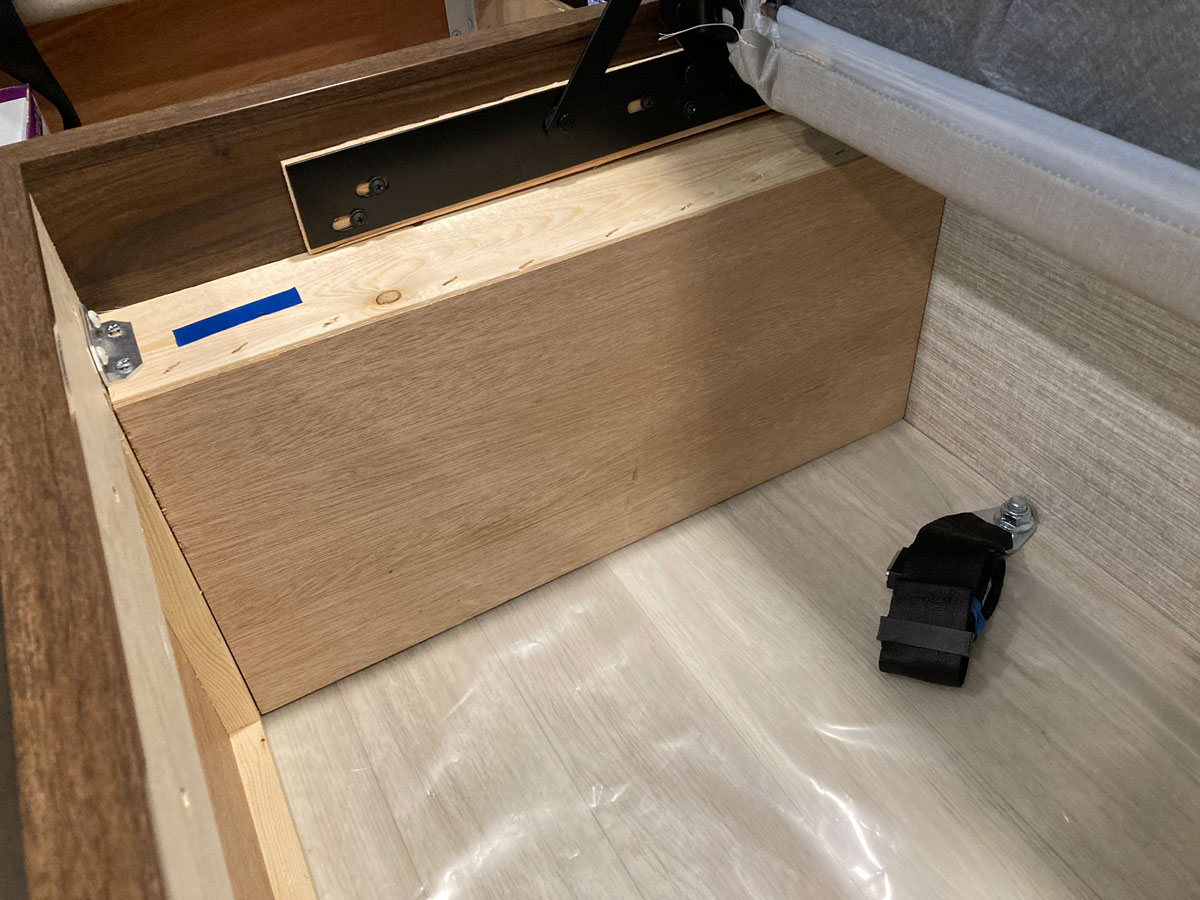
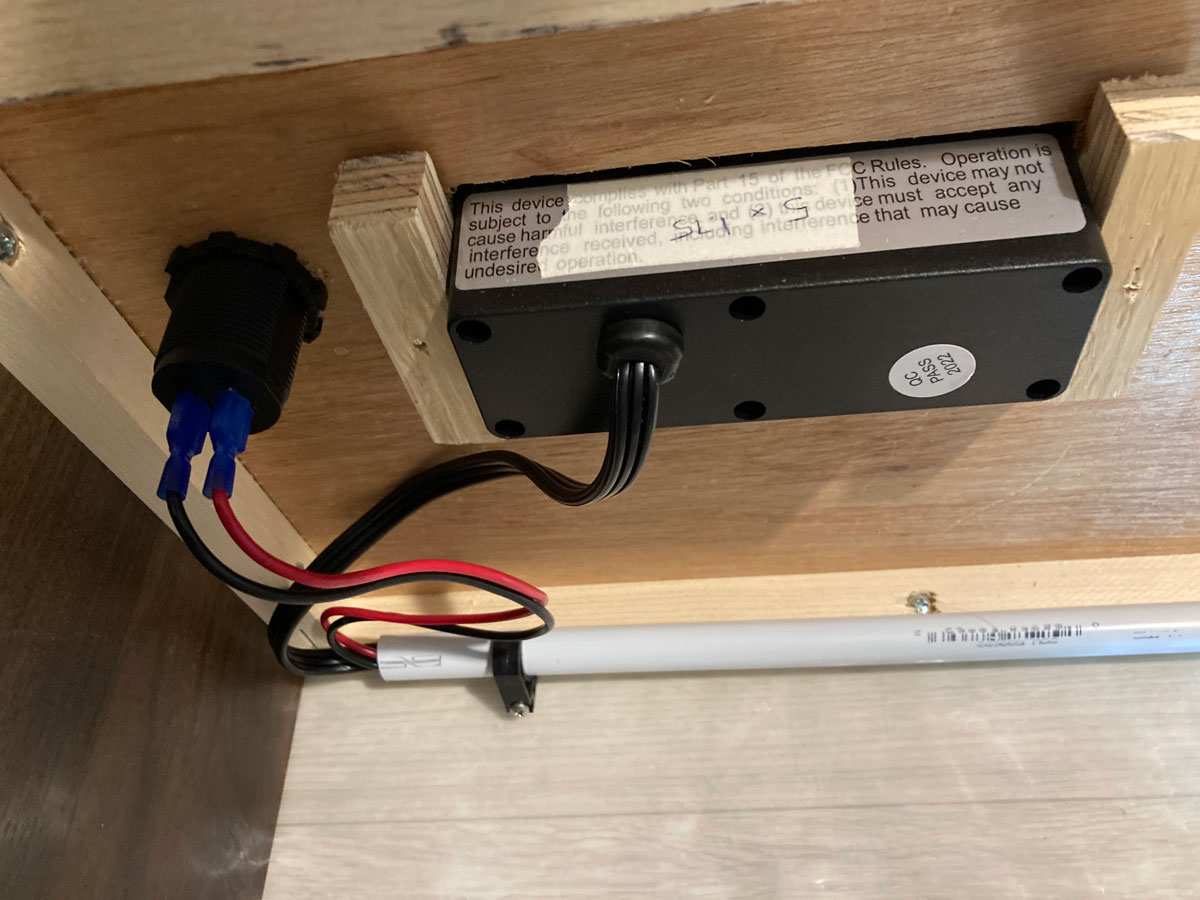
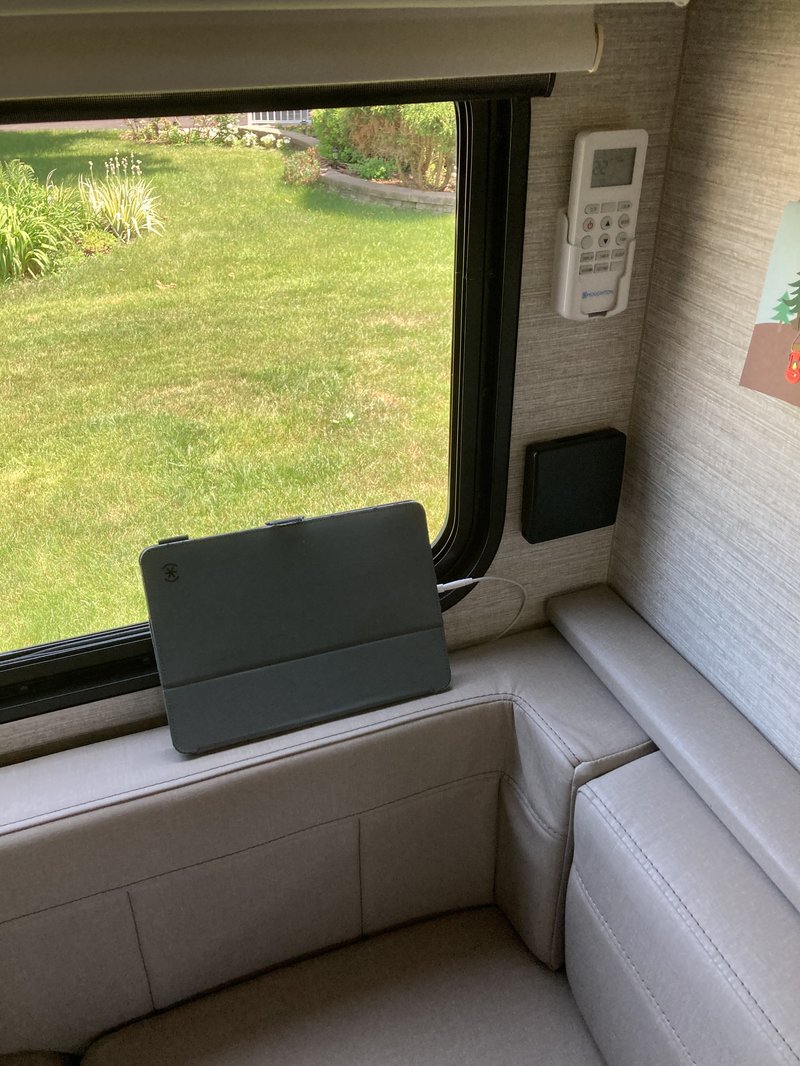
So, I came up with the idea to install another USB button at the very back of the side storage box, up top in the right hand corner:
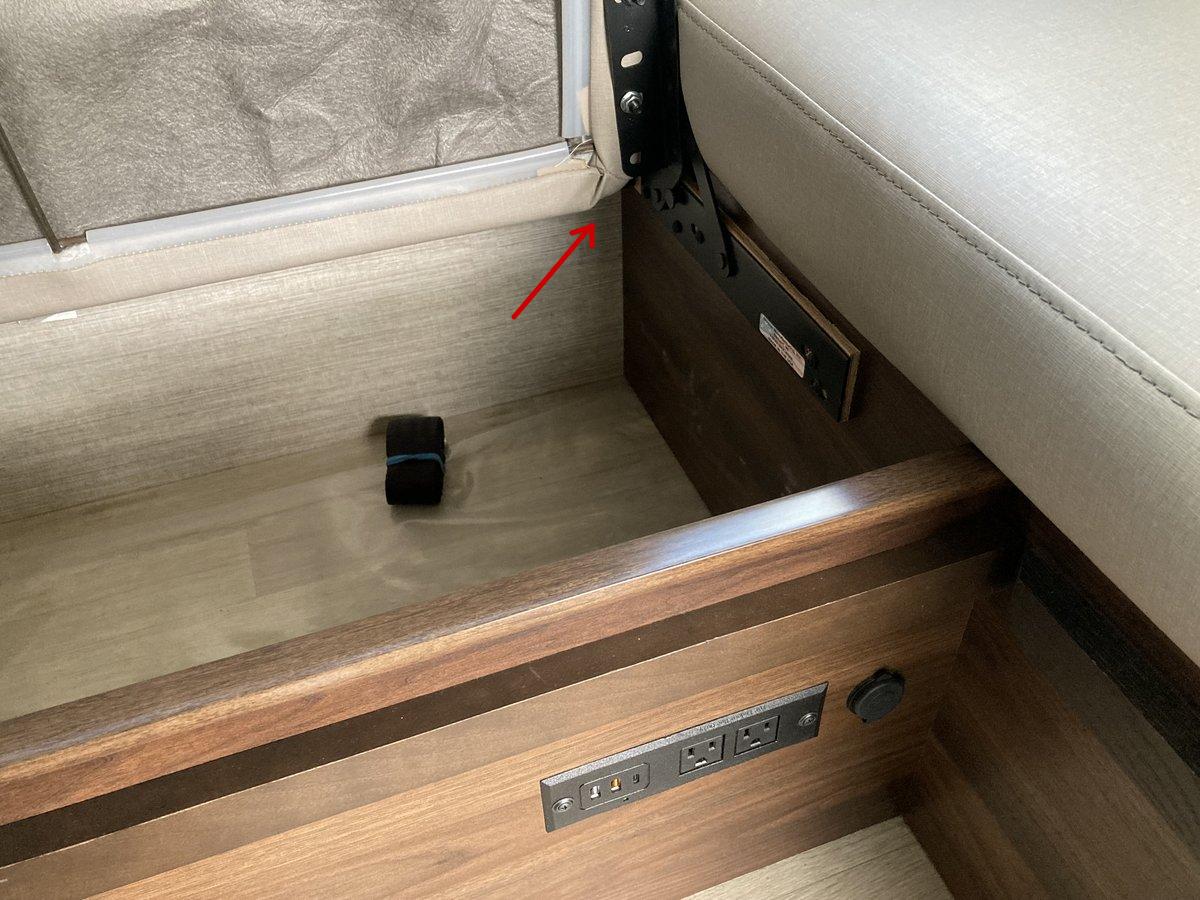
With a plug for charge cables back there, the cables can be run behind the side wall dinette cushion and pop out in the corner of the dinette where I usually keep my devices.
I made a bracket for a USB button out of 3/4” plywood, and mounted it to some structure on the front wall of the storage box – back in this corner, a 3 foot charge cable can easily reach to the corner of the dinette:

To get power to the new USB button, I removed the protective box from the original mods, and tapped into the 12 volt wires that are powering the original USB button:
I added some PEX tubing to protect the new wires, and attached the power and ground wires to the new USB button using spade connectors:

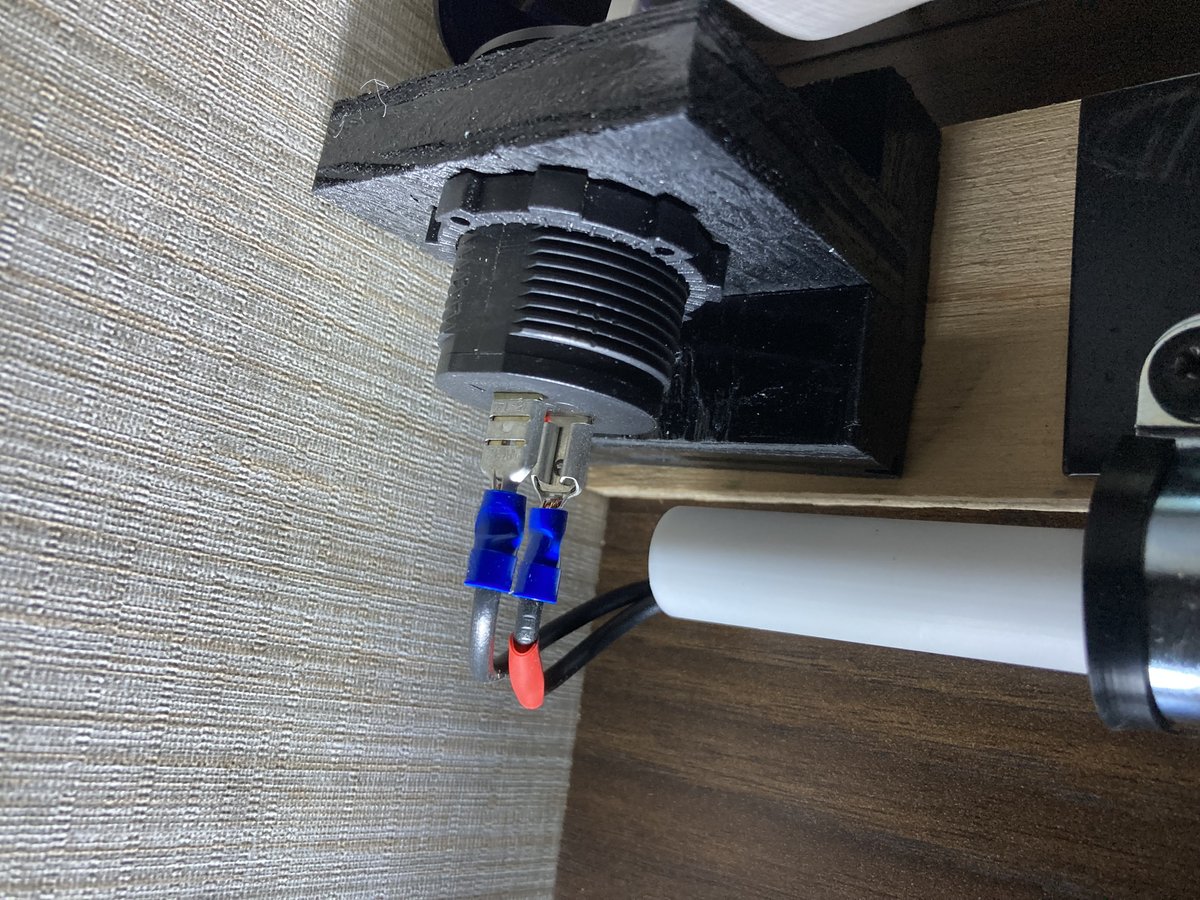
I added a few inches of 3/4” protective loom to guard against tall cargo rubbing on the connectors:

With the wiring all complete, I reattached the protective box on the original components, plugged in a charge cable, and routed it up behind the side wall cushioning of the dinette:
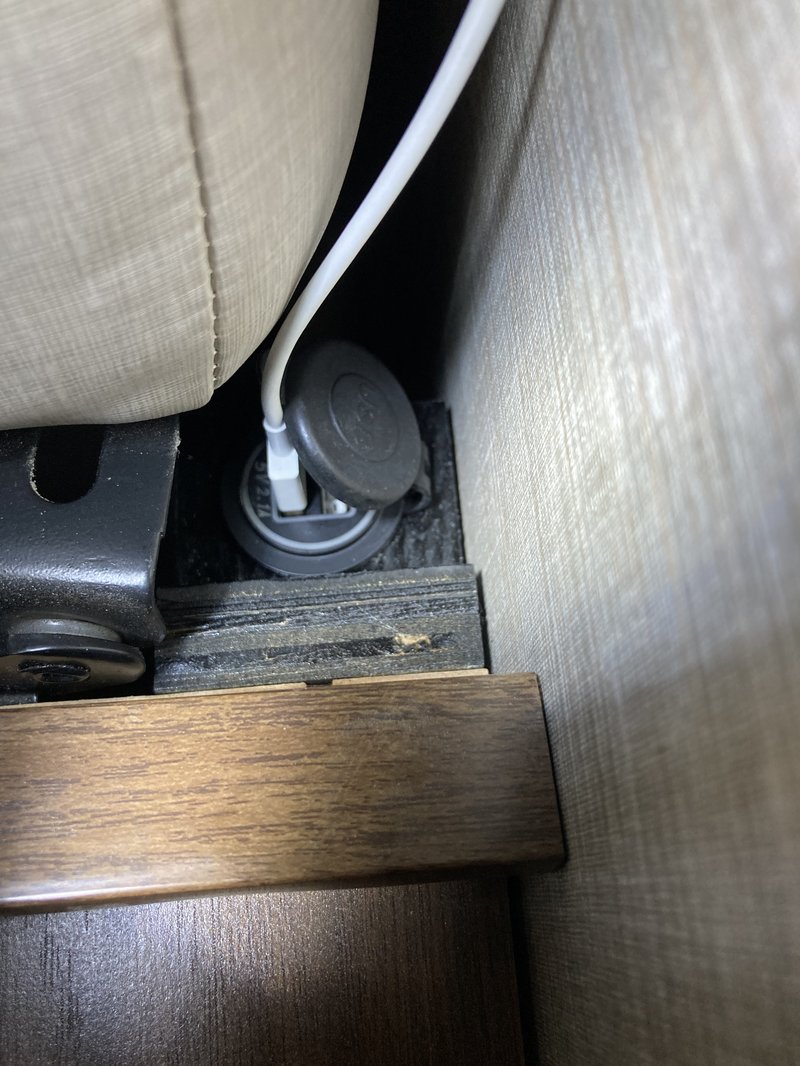
When I’m not using charge cables, they can be hidden from view behind the cushions.
A small mod, but I’m finding it pretty useful. The original USB button down by my feet still gets used every now and then as well. It seems you can’t have too many USB power sources!