5 Volt Exterior Power| RV Mods
Here is a mod that might be useful for those looking to get 5 volt or 12 volt power to a rear view camera. In our particular case, we used it to get 5 volt USB charging to the Auto-Vox Solar 4 wireless rear view camera that we installed to give us full time rear view awareness. Here is a link to that mod we did awhile back:
Auto-Vox Solar 4 Wireless Rear View Camera
As explained on the above mod page, the solar charging works really well - when the sun is shining. But, we found that running the system in cloudy weather will result in only a two or three day charge, and if you have a long string of cloudy days the system will eventually run out of battery power and shut itself down. That’s where this mod comes in. If your travels are taking you into all sorts of weather, and you don’t want the inconvenience of not having a rear view camera system every now and then, a full time charging system to the camera battery is a requirement.
This mod will also work for you if you are looking for a general solution to getting 5 or 12 volts to something at the rear of your trailer or motorhome - whether it is a solar powered camera or a conventionaly powered camera, or something else…
The general concept for this one was to “borrow” 12 volts from a nearby running light in the roof end cap, and in our case, step that 12 volts down to 5 volts for use in a USB charging chord. (Our Auto-Vox battery powered camera requires 5 volt USB charging, but if you’ve got a 12 volt camera you can skip that voltage drop step.) In order to step 12 volts down to 5 volts, we picked up a voltage converter from Amazon:
12 Volt to 5 Volt Step Down Converter
The USB plug that came with the voltage converter did not physically fit into our Auto-Vox camera, so we had to replace a portion of the USB cable that came with the converter with the spare USB cable that came with the Auto-Vox system. It was not a big deal, as there was only a power wire and a negative wire in the charging cables so the butt connections were straightforward. Here is a photo of our converter, after splicing on the spare USB cable that came with the Auto-Vox system - the red and black wires are the 12 volt input to the converter, and the black USB cable is the 5 volt output from the converter:

The Installation
I started out by removing the 12 volt running light that was immediately below the rear camera bracket:
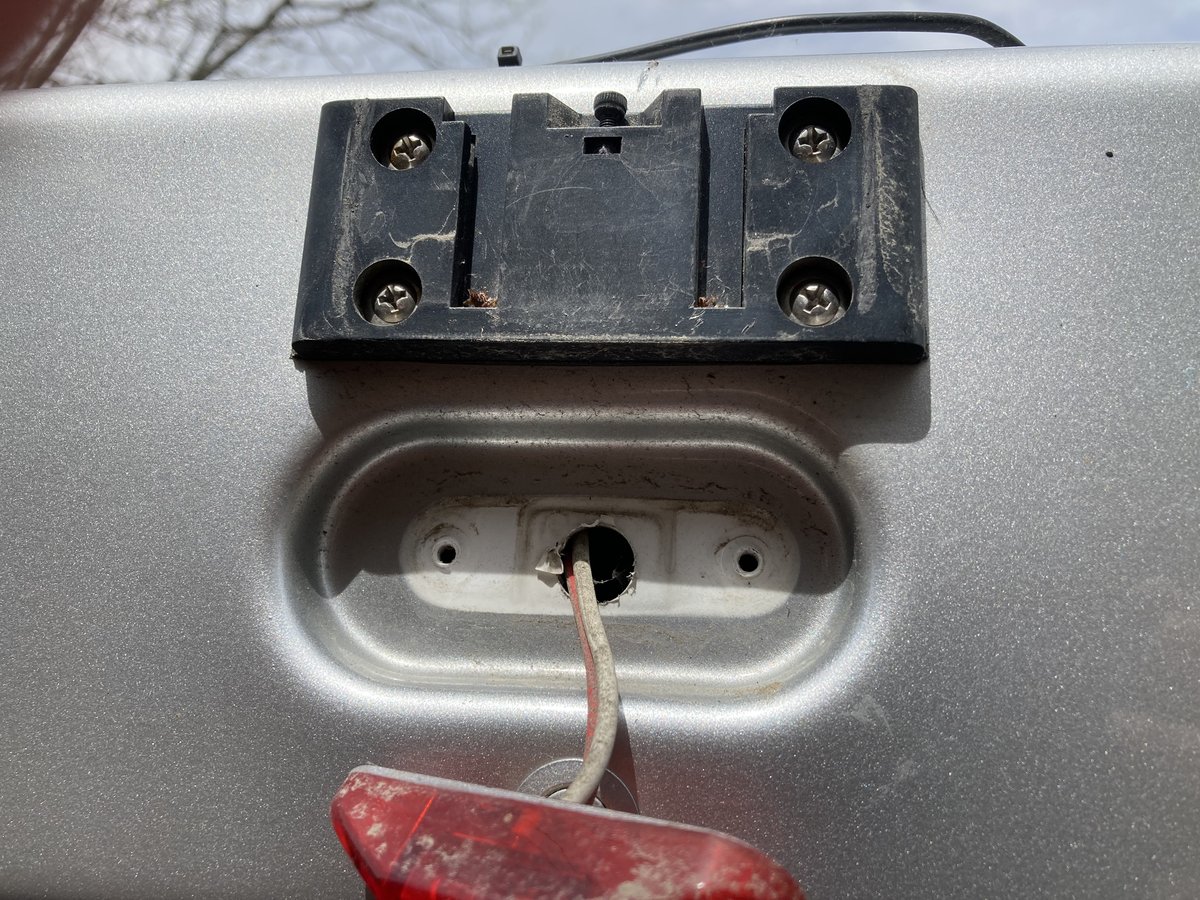
My plan was to enlarge the access hole for the wiring - just large enough to be able to slip the voltage converter into the cavity of the end cap, after doing the required wiring. To enlarge the access hole, I chose a Dremel type of tool and a standard cutting bit:

I was careful to make the hole large enough for the converter, but small enough not to interfere with the screw holes that the running light uses to secure itself to the end cap:


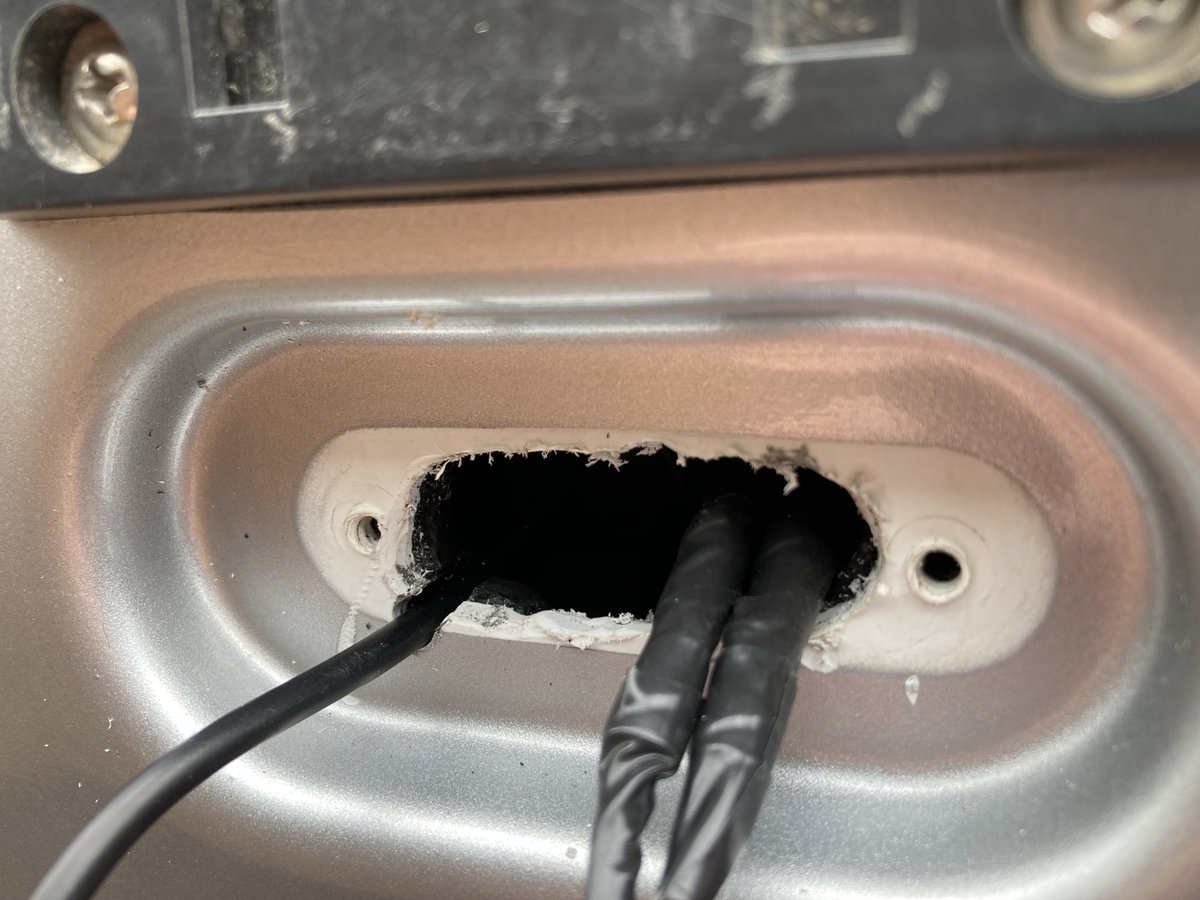
This is what things looked like prior to doing the wiring - you can see the running light hanging from the Winnebago wiring, and the converter’s wires that needed to be spliced into Winnebago’s wiring:

I spliced the red and the black 12 volt wires from the converter into the running light red power and white negative ground wires using butt connectors. This photo shows the two butt connectors just above the running light. The two butt connectors up higher are Winnebago’s connections from their yellow power wire and white negative ground wire:

After making the connections, I wrapped my butt connectors in electrical tape, suffed the connector and most of the wiring into the end cap, and then used the Dremel tool to “notch” a slot for the USB cable to protrude without interfering with the fit of the running light attachment:
I applied some silicone caulking to the USB cable “notch” and the periphery of the enlarged slot, and reattached the running light to finish up the job:
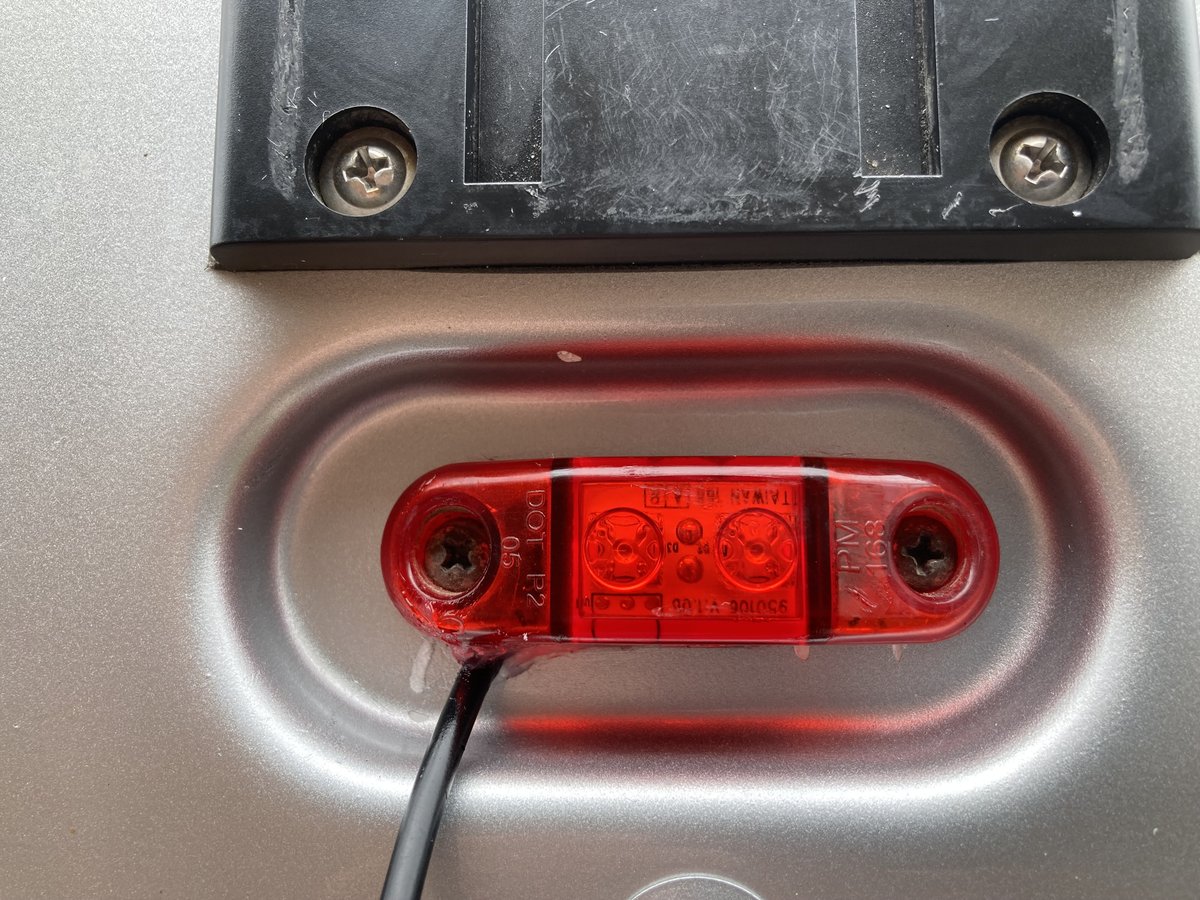
After reattaching the camera, I plugged in the USB cable and called it a day:

Now, the only thing to remember is if the Sprinter auto-lights sensor has not automatically turned on the lights and running lights in low ambient light conditions, you’ll have to manually turn on the lights yourself to charge the camera battery to keep it topped up. With the battery charge indicator on the cab monitor always visible, that should not be difficult to remember to do.
I left the small Auto-Vox solar panel and its USB cable in place, as a backup to this new charging system and also to have a source of charging for times when the View is in storage.