RV Battery Disconnect | RV Mods
One of the reasons we installed LifePO4 coach batteries was to allow us to leave the batteries in the View all winter, unattended. For all of the years that we have operated a motorhome, we have stayed put up here in Canada for the winter. That will likely change someday, but for now, the coach sits unattended for 3 or 4 months in Canadian winter temperatures. The routine when storing our previous motorhomes was to remove the lead acid coach batteries and keep them warm and fully charged in the basement. The process of removing the batteries, storing them, and then re-installing them – usually in temperatures associated with early winter and early spring – was a workload.
With the Battle Born LifePO4 batteries, you don’t need to worry about them discharging and subsequently freezing during cold temperature storage. The only trick is to ensure that the batteries are completely isolated from the coach electrical system, resulting in no parasitic drain and no charging attempts by the solar panels. In theory, the coach battery disconnect switch should prevent the batteries from slowly discharging over the winter – and if the solar is disconnected on the roof – there should be nothing to tax the built-in battery management system as it guards against destructive cold temperature charging. But, in reality, does the battery disconnect switch really isolate “everything” from the batteries? Or, are there some systems that are hot-wired to allow operation even with the battery master off? Well, yes, there are. For starters, I do know that the solar controller is hot wired to the batteries - I have disconnected the solar and turned the battery master off, and the solar controller still has battery voltage on it and the guage is operative, and whenever I hook up the batteries with the battery master off I do hear some power on beeping that occurs… from somewhere. So, in the past, I have been pulling out some wrenches and disconnecting the cables from the batteries as I lock the door and leave the coach alone for the winter. And then connecting all the cables again in the early spring, when it is time to get on the road.
But, all of that is a bit of a pain; especially since it never gets done when the temperatures are comfortable to be working in. And, there is always the possibilty of shorting something out as I work in a very confined space with cold hands and tools. (Been there, done that…) A simpler solution would be to just throw a disconnect switch that is guaranteed to do the job, with no second guessing. That is where this battery disconnect switch from Amazon comes in:
Blue Sea Systems battery disconnect switch
The installation concept was pretty straightforward, because I was able to take advantage of the previous installation of a Victron BMV712 and its ground cable reconfiguration to place the switch on the lone ground cable attached to the battery bank.
See previous Victron BMV712 mod here
(Bundling up the positive cables and adding a disconnect in that path would work too, but this is much simpler and has the added safety benefit that disconnecting the grounding cable provides.)
If you still have the Winnebago battery cable configuration because you have not installed a battery monitor, then this mod shown below likely does not apply to you.
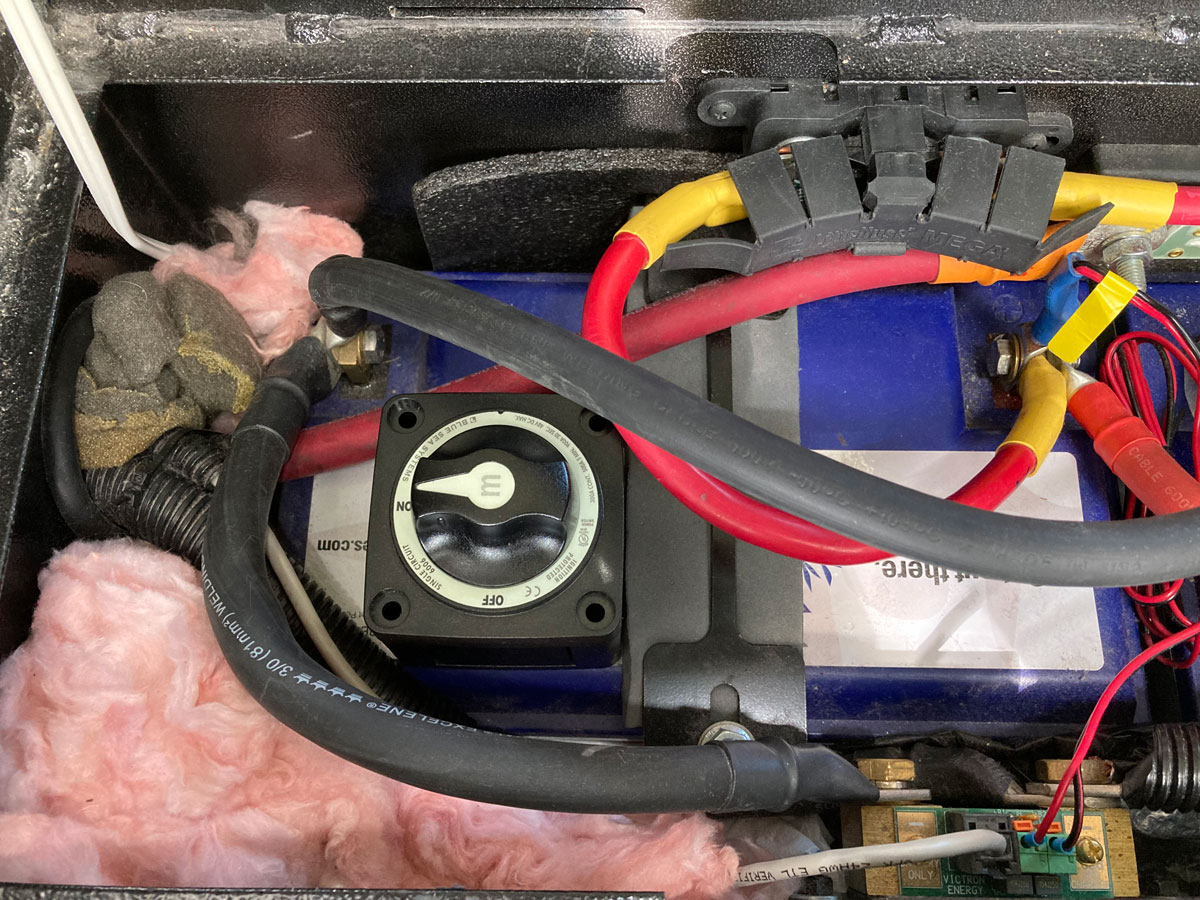
Options as where to put the switch were few and far between, because of the tight confines in the battery box. In the end, I chose to put the switch on top of the left hand battery; this photo shows its loose location, and the lower adjacent grounding cable that I subsequently replaced:

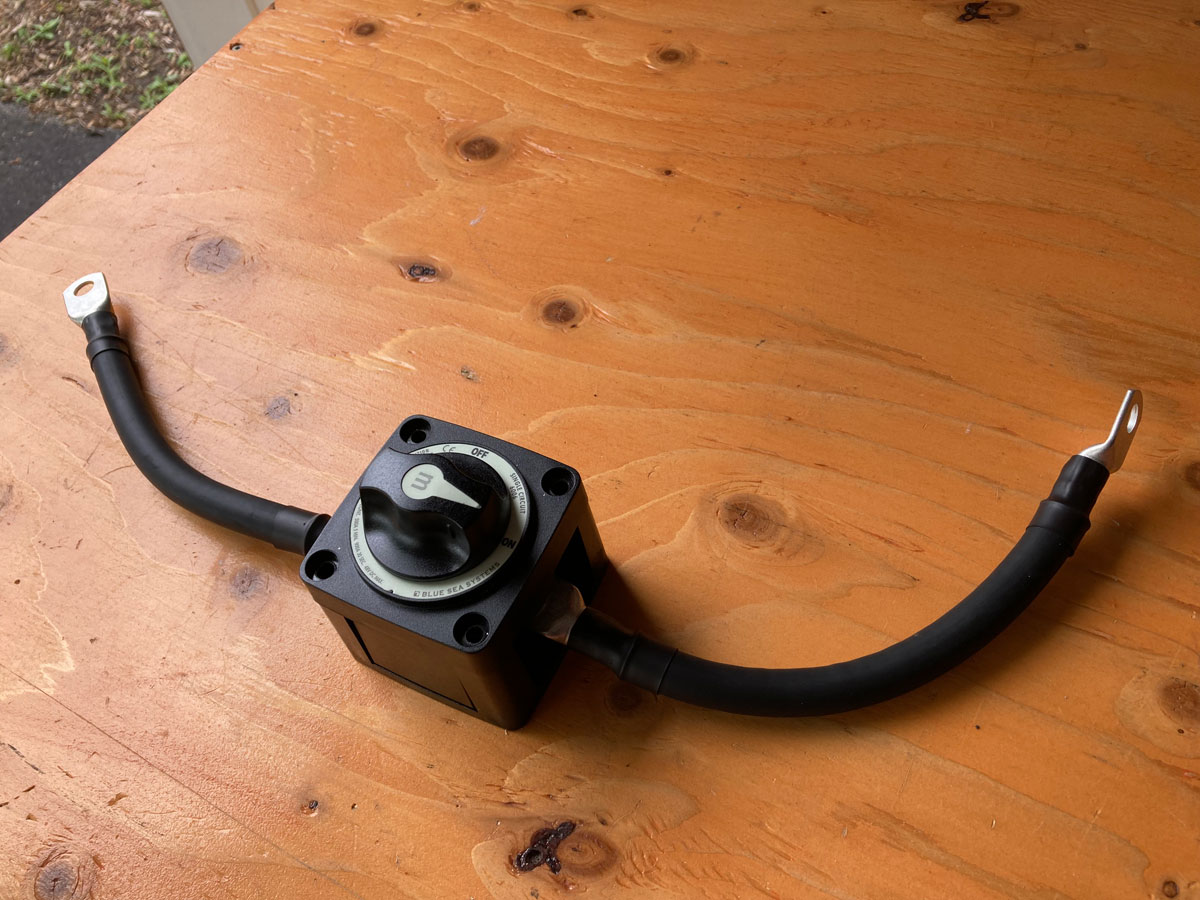
I chose to buy a couple of 8” AWG 2/0 cables to make things work (The Winnebago 3/0 cable in the above photo that I chose to re-use for the Victron BMV712 mod was a bit stiff and awkward to use). This next photo shows the two 2/0 cables into, and out of, the disconnect switch.

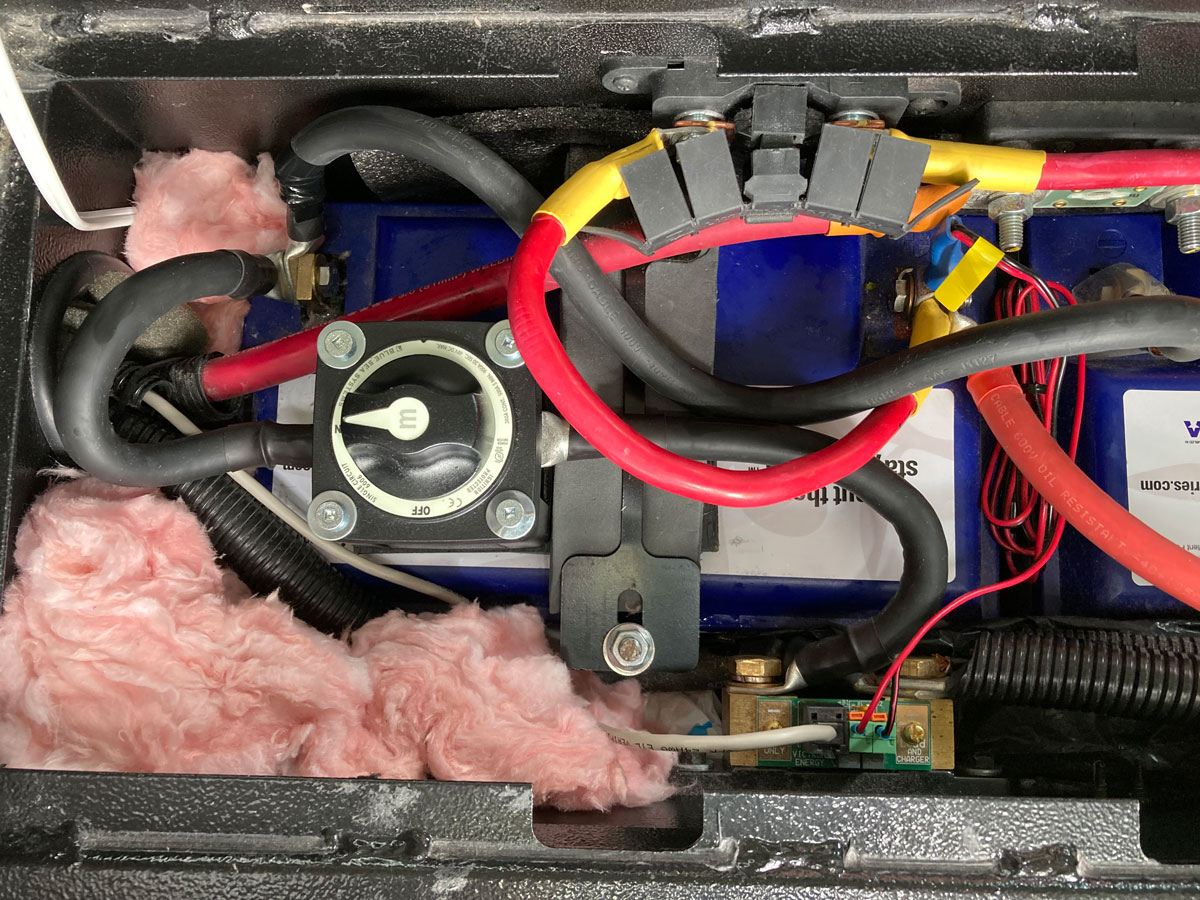
In order to give the switch some rigidity on top of the battery, I mounted it on a piece of ½” plywood and sandwiched the base under the left hand battery retention strap. Once completed, the foot well step clears the switch by a little bit, and even with the battery box insulation re-installed, it all fits together well. Here is a photo of the completed mod with one of the new cables coming off the left hand terminal of the Victron shunt at the bottom of the photo, entering the switch, and then the other new cable coming out of the switch and hooked up to the negative terminal of the battery bank in the top left corner:

A couple of notes:
1 – As explained in previous battery mods, I chose AWG 2/0 welder’s cable for replacement cables in the battery box. The coach came with AWG 3/0 cables, but my research has showed that the 3/0 cables are very conservative for the loads that the inverter is sized to pull. AWG 2/0 cables are good to almost 200 amps, or close to 50 amps more than the max current the inverter pulls when powering the kitchen appliances.
2 – The last photo above also shows the three Winnebago grounding cables that had to be re-configured for the previous Victron BMV712 mod. One comes out of the left hand hole in the battery box (seen just below the beige ethernet cable plugged into the shunt), the second and third come from the right hand hole in the battery box and enter the picture from the lower right, and all three are grouped together and attached to the right hand terminal of the shunt. It is this grounding cable configuration that allows for the lone grounding cable to come off the Victron shunt and makes it the logical place to add a battery disconnect switch prior to re-attaching to the top left negative terminal of the battery bank.
This “no second guessing” battery disconnect switch works as planned.