Dedicated 20 Amp RV Circuit | RV Mods
So why a dedicated 20 amp circuit? Well, during times when heat is required to keep the coach comfortable, and if we are plugged in to shore power, we tend to use a stand-alone electric heater – we are paying for electricity, so why not use it? The heater we use pulls about 12 amps on high, so will take up a considerable amount of the coach’s 30 amp budget. If we are using the microwave we come pretty close to the circuit breaker’s trip point, when you also consider other loads that are part of normal operations. We have not required two electric heaters yet, but I can see the time when that just might be necessary. If we had to use two electric heaters there would be very little margin left in the View’s total amperage capability.
In our View, the induction cook top and the microwave share a 20 amp circuit as part of the basic design. The circuit is wired so the microwave takes priority – the 20 amp receptacle that the induction cook top is plugged into is load shed when you use the microwave. This receptacle is located underneath the right hand sink. Knowing that this circuit is protected from an overload by this load sharing arrangement, I have been unplugging the induction cook top and replacing it with our electric heater. In addition to the protection, another upside is that the heater can be positioned by the door, out of the way, without a chord to trip over. The downside of this protection is this arrangement allows the heater to run only when the microwave is not operating, and leaves us without heat while a meal is being prepared. We needed a better way to run the heater full time without the potential for circuit breaker trips and inconvenient heat outages.
The answer was a dedicated circuit that is independent of the View’s electrical system, and a receptacle that could be located to be able to optimally position a heater on the floor without a cord to get in the way. I got this great idea from the RVgeeks:
RVgeeks and their dedicated 20 amp circuit
Essentially this circuit is a glorified extension cord, completely independent of the View’s 30 amp AC system. It is a very straightforward mod, and brings considerable capability to the coach. If we are at a campground with both 30 amp and 15 or 20 amps available at the post, we can also plug in an extension cord to an INlet in the electrical bay, and have the campground 15 or 20 amp circuit show up at a dedicated receptacle in the coach. This receptacle is the only spot where this power ends up, and is the source of electricity for our stand-alone heater.
Why a 20 amp circuit, and not a 15 amp circuit? As suggested by the RVgeeks - peace of mind: our electrical heater will be running continuously for extended periods of time and pulling at least 12 amps. With the potential variability in campground post voltage, this amperage could be higher than 12 amps and get pretty close to the limit of a 15 amp circuit. Wiring at its limit will start to degrade over time if abused continuously, and can be a fire hazard. Choosing the wire and hardware associated with a 20 amp circuit gave us peace of mind and allowed us to sleep well. (For the times when we are plugged into a 15 amp circuit on the post, and not a 20 amp circuit, we know the coach wiring is protected and will rely on the post circuit breaker to protect the campground wiring.)
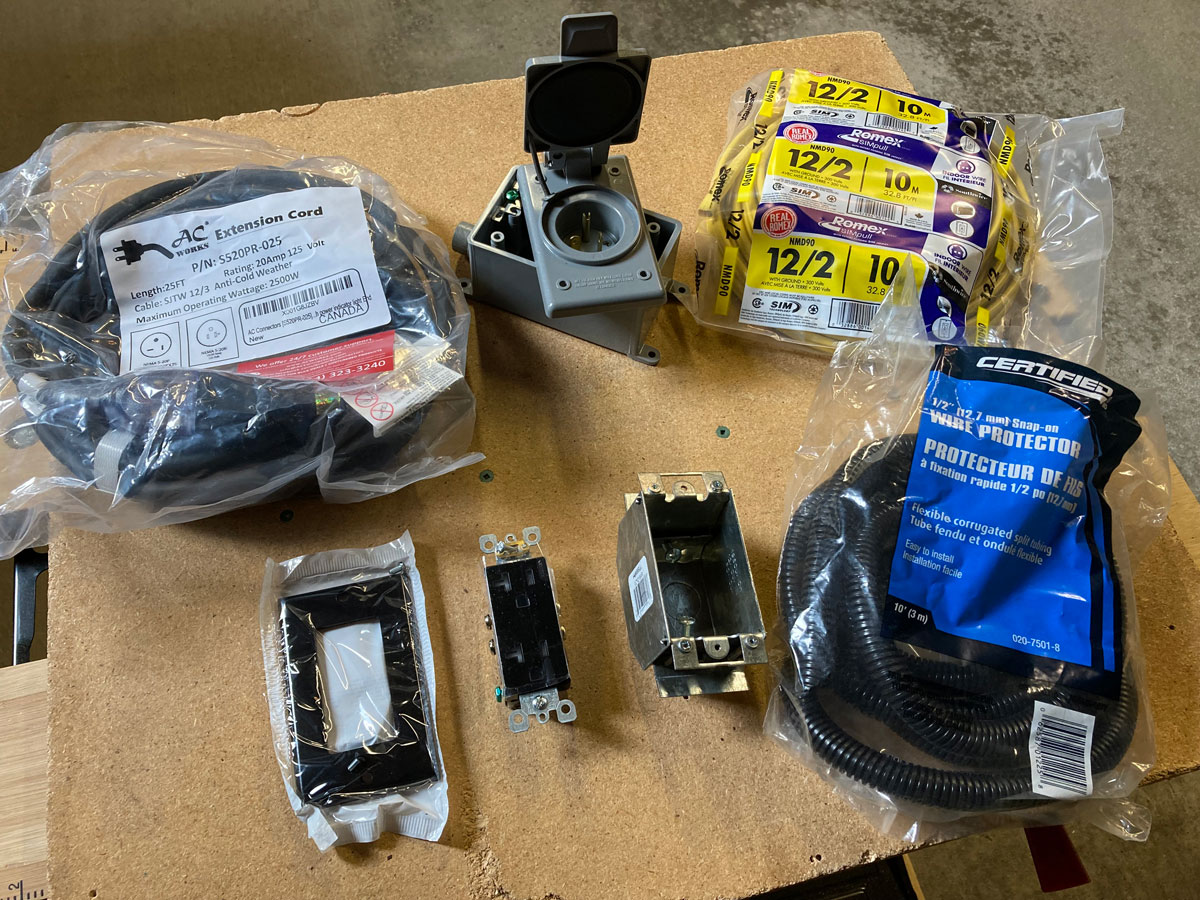
I used the parts list on the RVgeeks video for the most part and got the majority of the supplies from the orange home store in our neighbourhood. I did have to order the INlet from Amazon, as a 20 amp inlet is not a common orange store item. I also ordered the 20 amp extension cord from Amazon as well. This modification is not difficult, but is a bit time consuming to run the 12/2 cable from the electrical bay all the way to the front door of the coach. I removed the kitchen drawers to help in feeding the cable, which I started from the Truma hot water tank area. My thinking here was I would only have to work with ½ of the cable at a time, instead of trying to pull all of the cable the whole length of the proposed run.
Here are a few pictures of the process, with some explanations as we go.
The supplies were pretty much as the RVgeeks listed them:
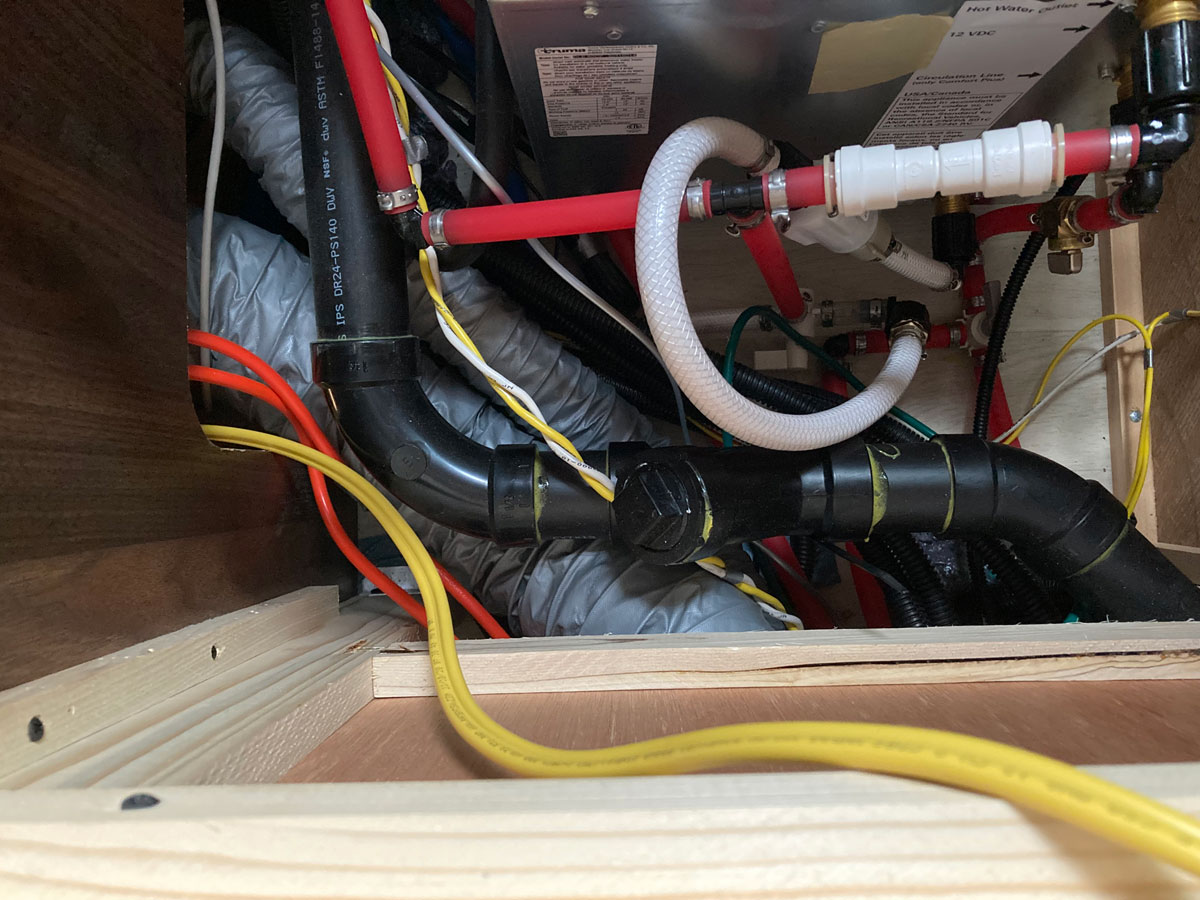
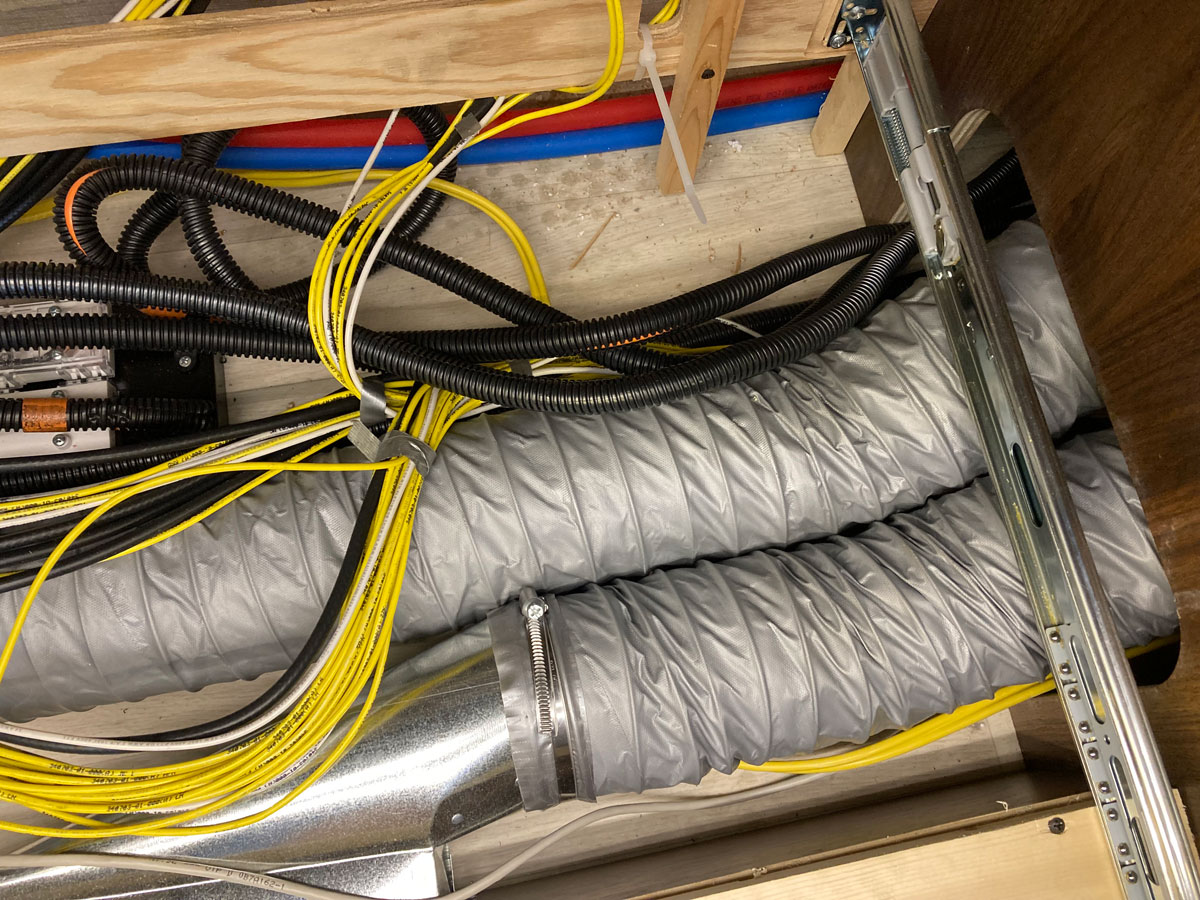
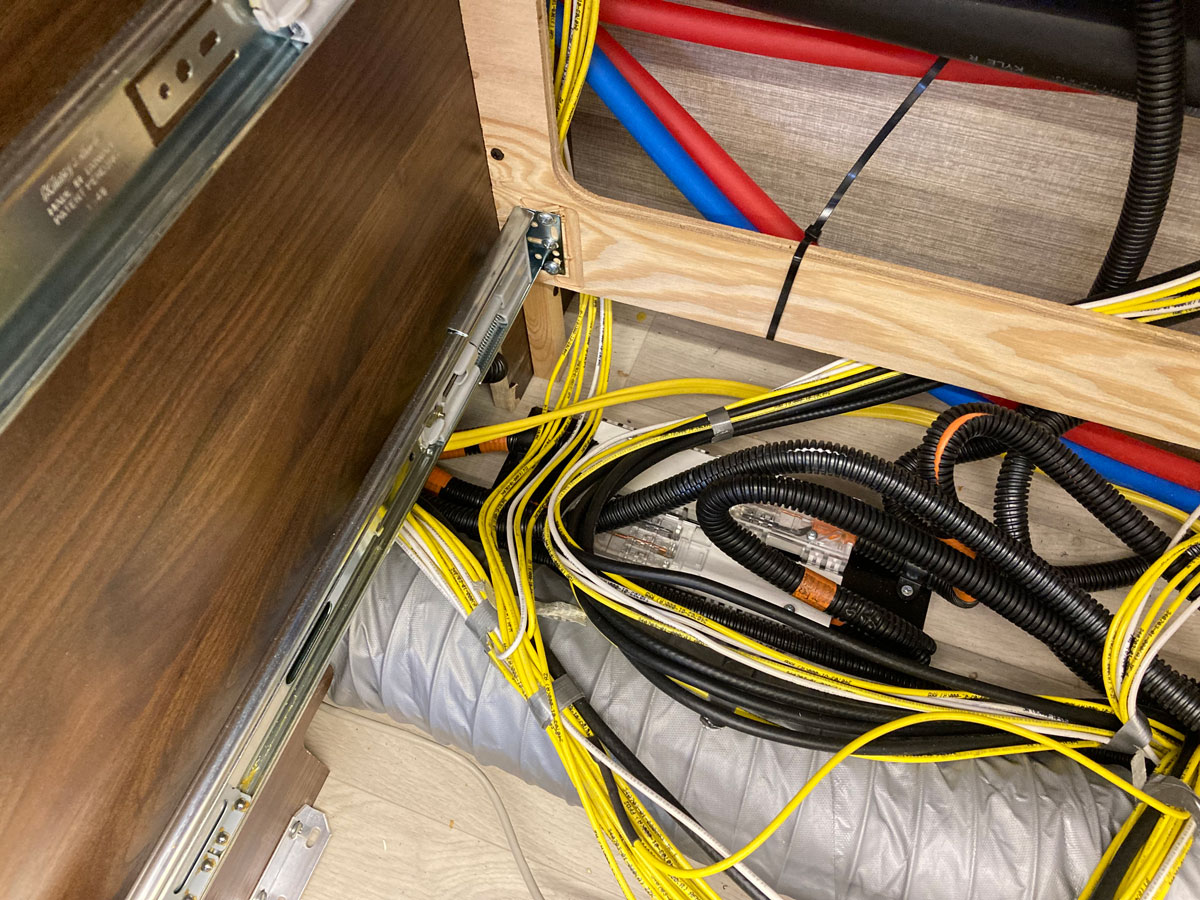
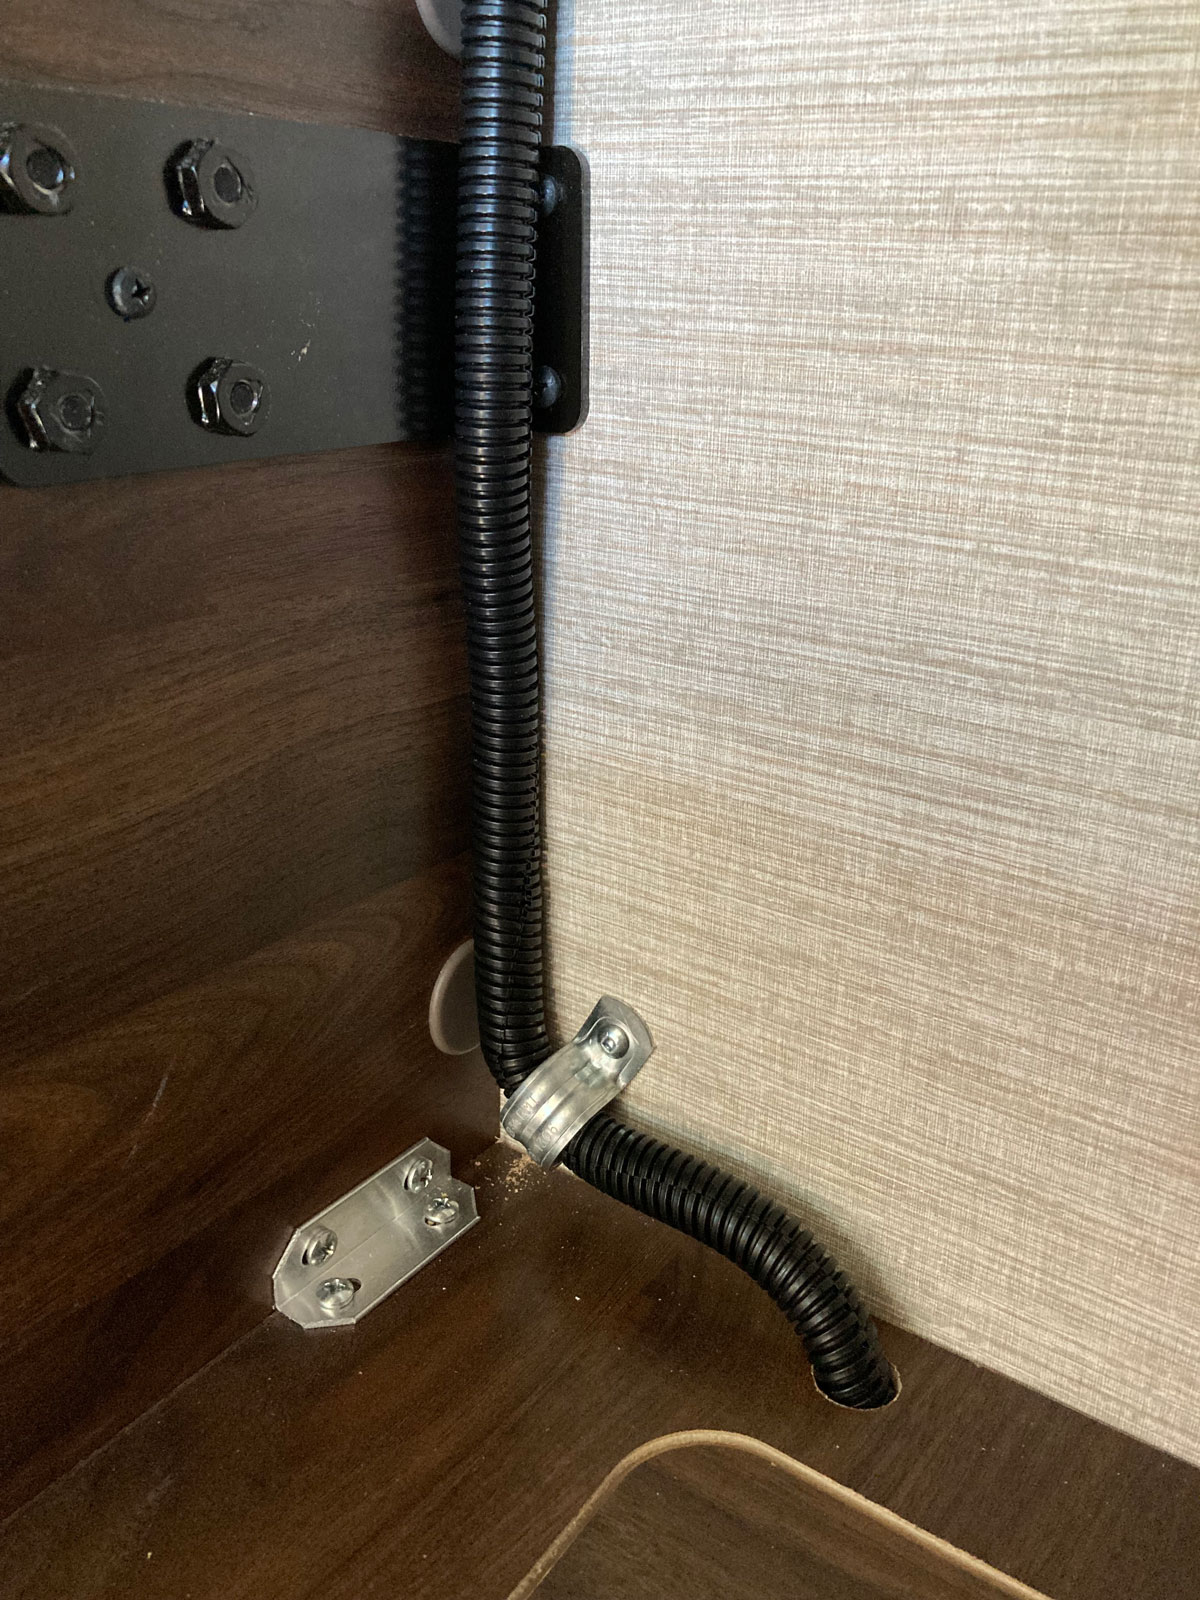
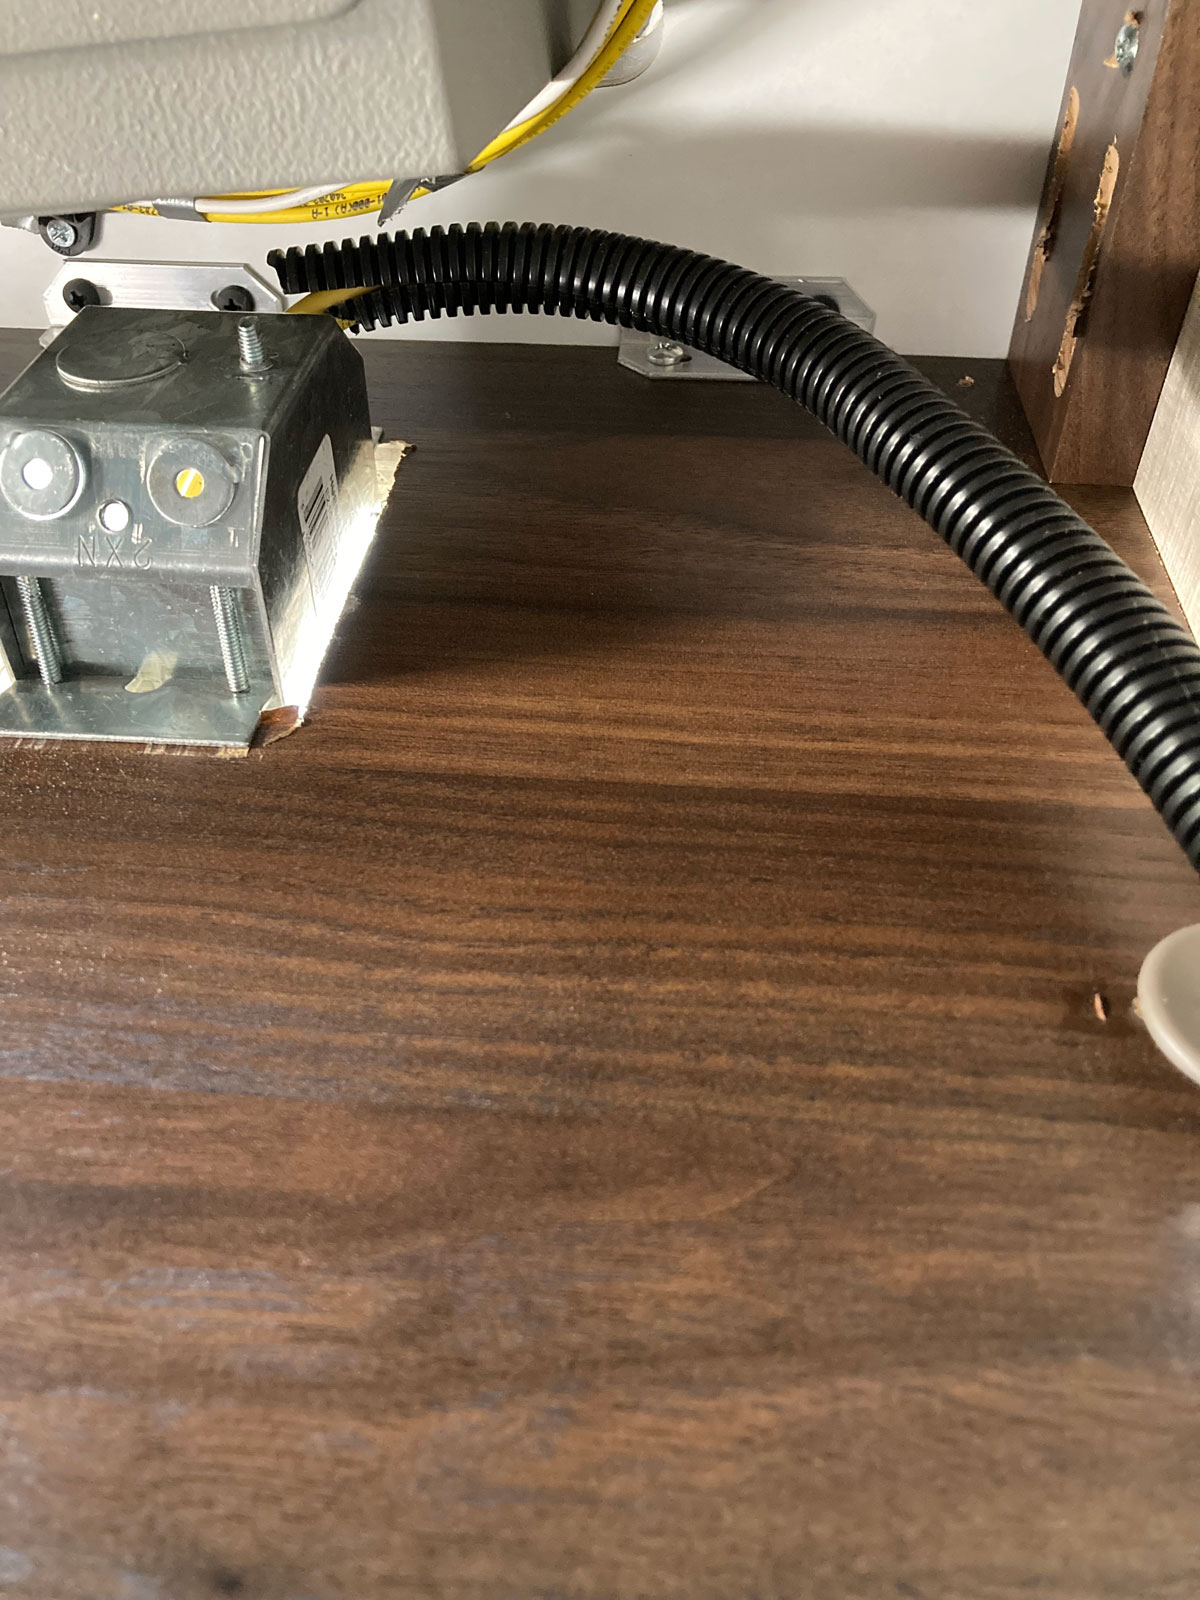
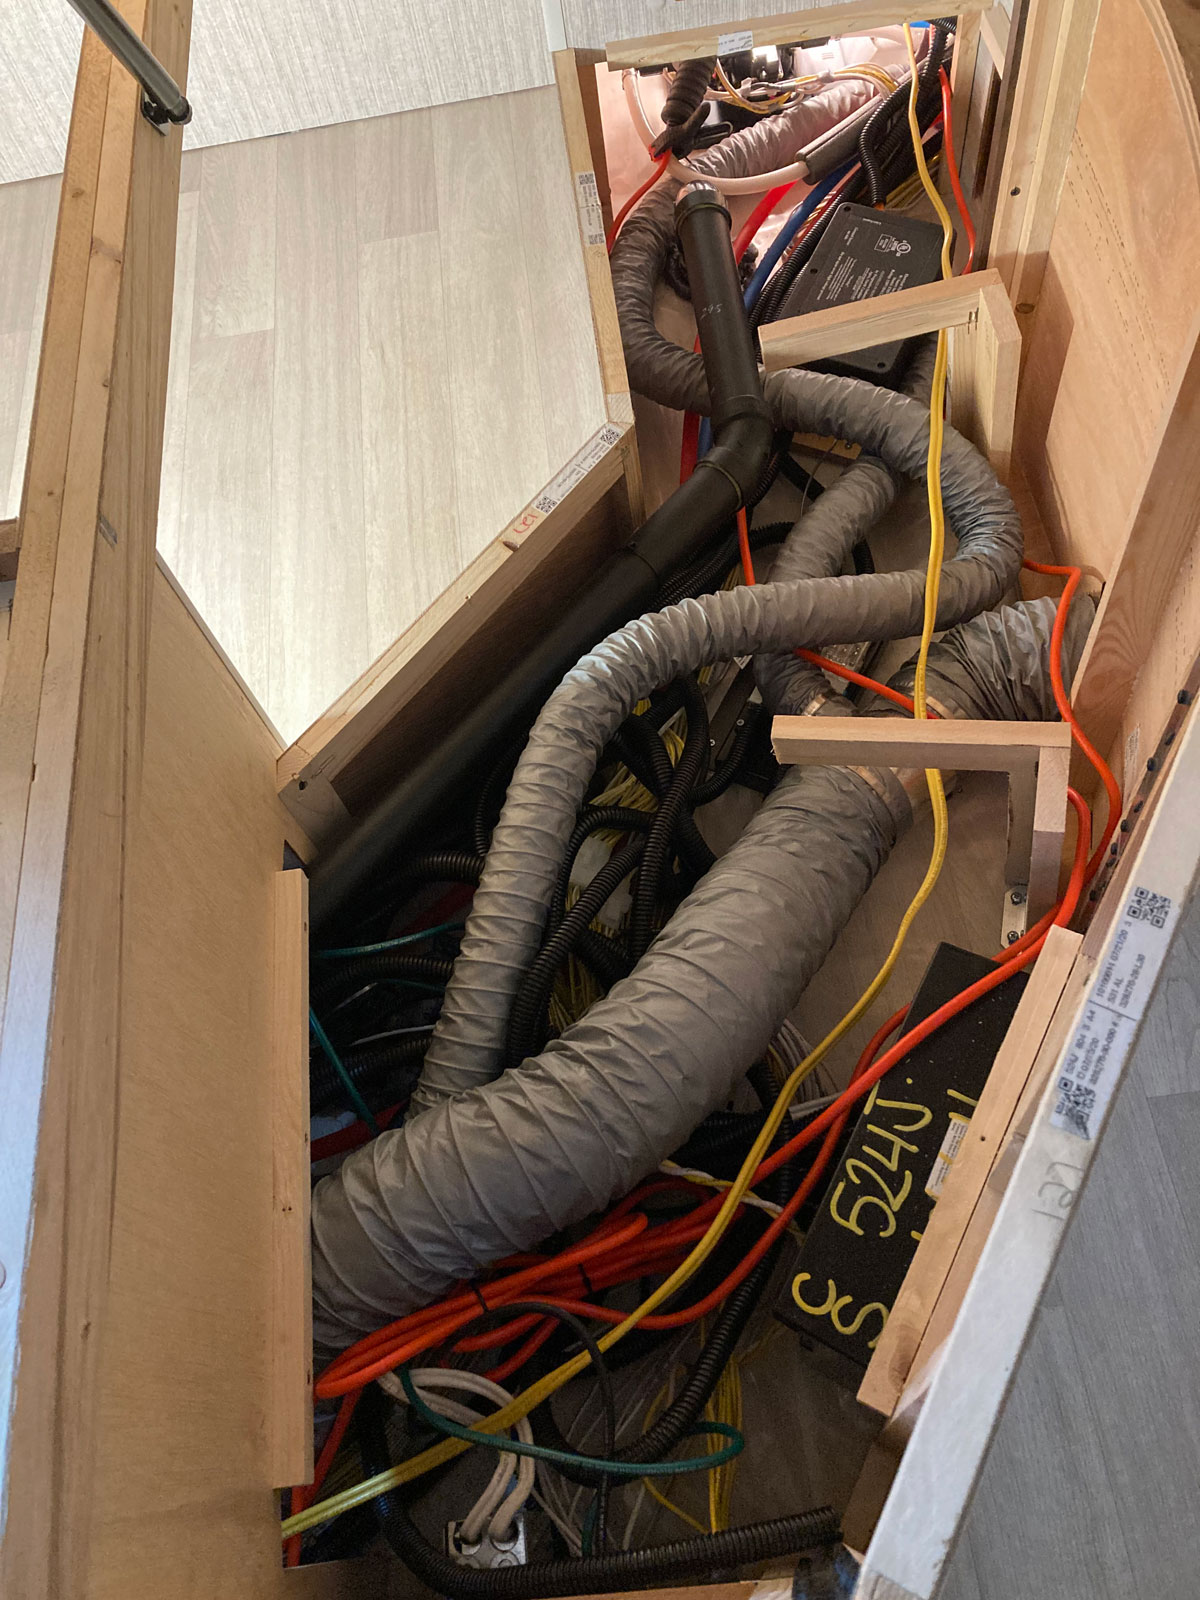
These next four photos show the yellow 12/2 20 amp cable run towards the entry door recepatacle. I started in the Truma heater bay, worked under the fridge in front of the propane furnace, underneath the heater ducts, and then along the side wall into the base of the sink cabinet. From there it was an easy run to the access panel where the inverter cables come up from the basement locker. I eventually added some wire loom and secured the cable to the back of the sink cabinet.
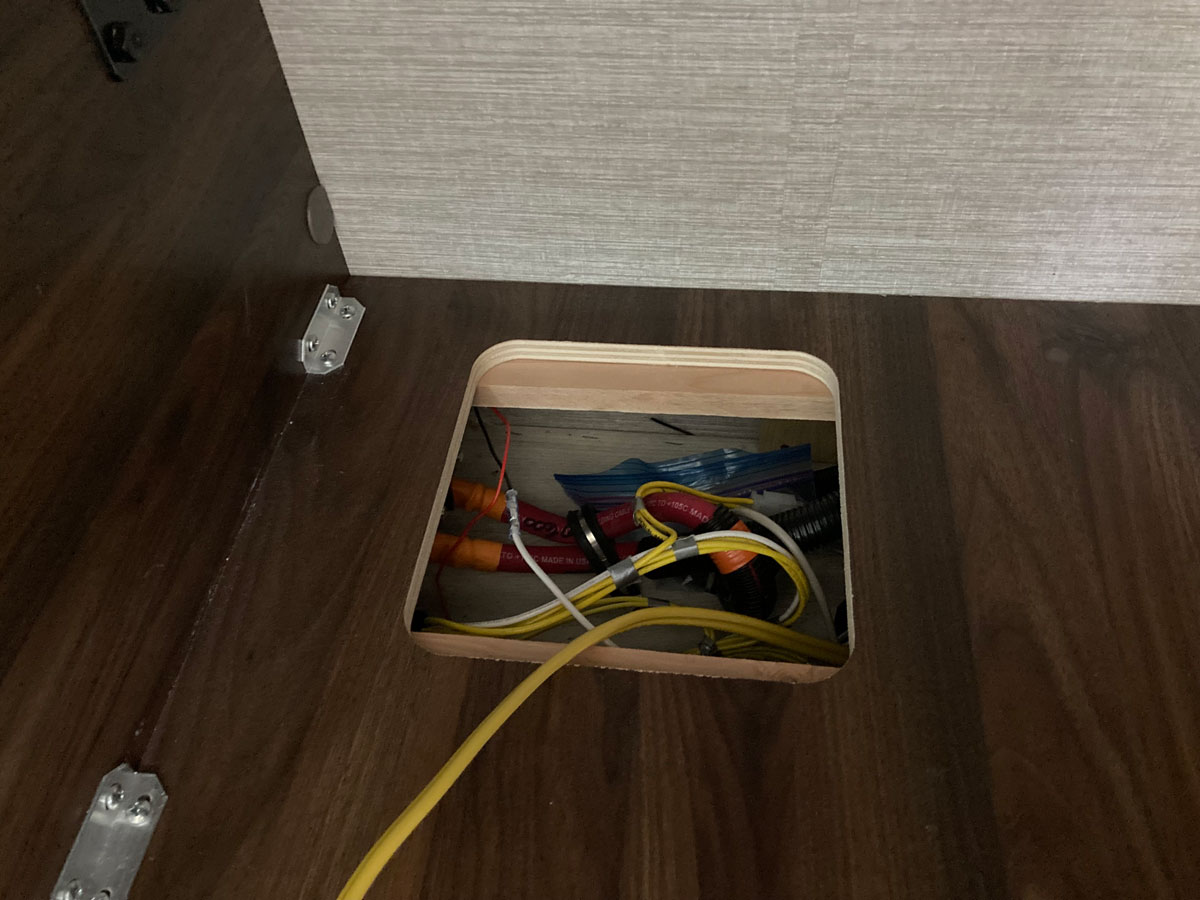
From the base of the sink cabinet, the cable runs up the side wall to the receptacle mounted up high on the cabinet side. I wanted to get the receptacle out of the way of any items that would be stored under the sink.
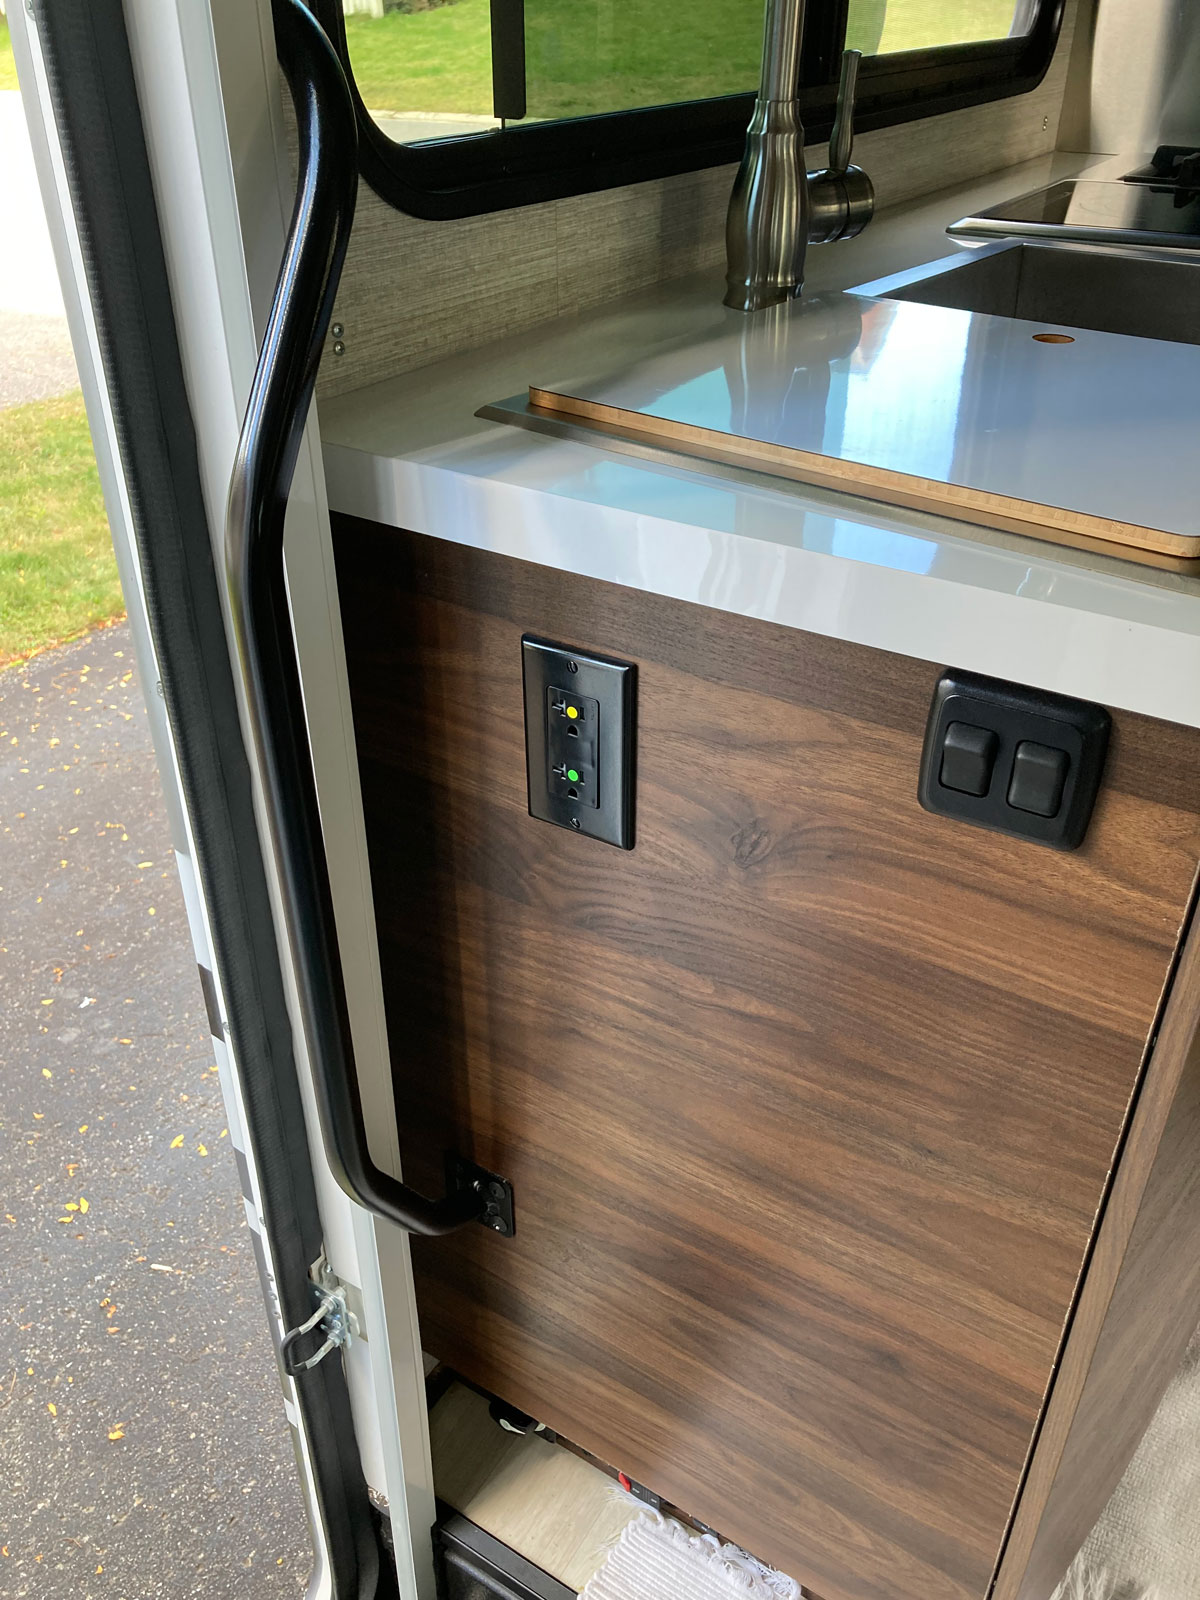
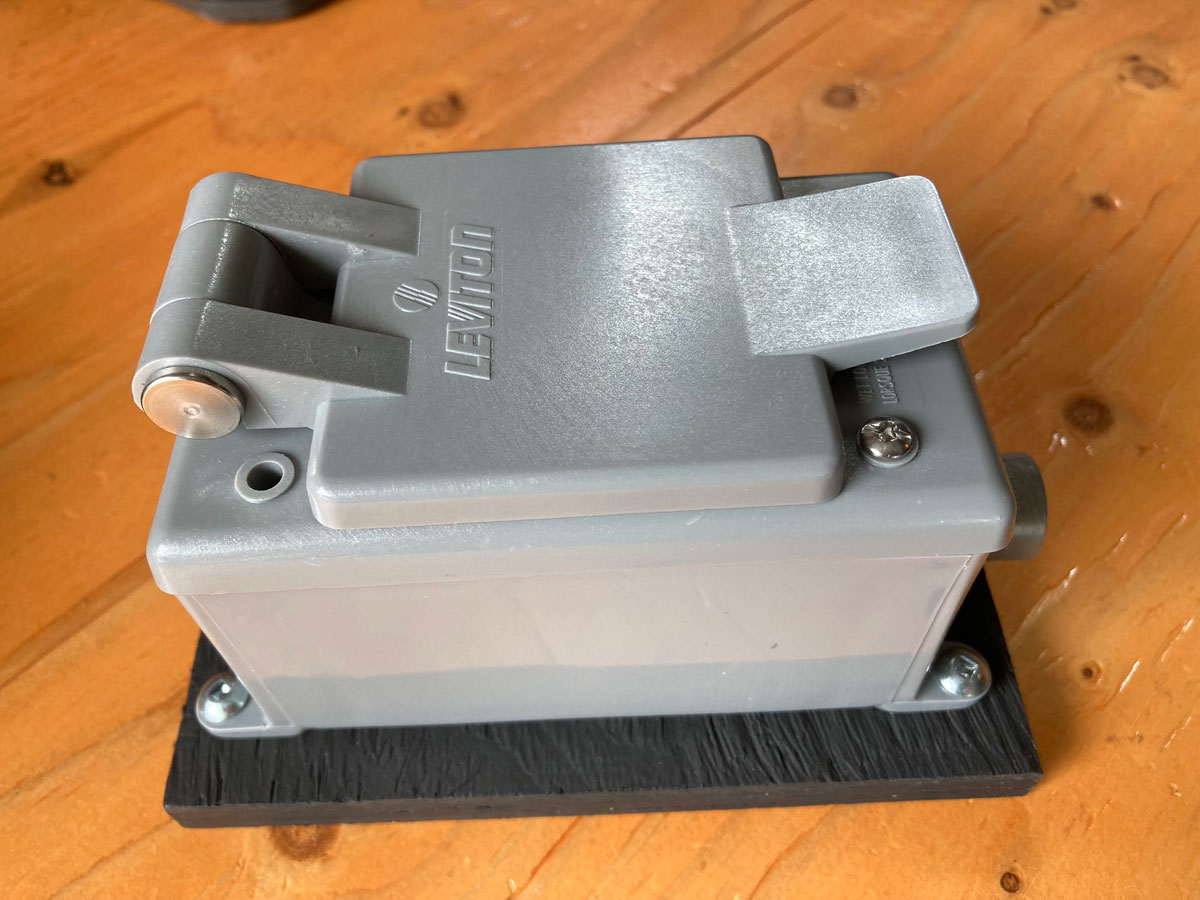
This photo shows were I mounted the receptacle: I chose this location to allow the heater’s cord to be out of the way, and also because I wanted to be able to use this plug for the lithium battery heater that also needs 120 volts. But, I didn’t want to have the lithium battery heater only available when parked in a campground, so I wired the bottom plug on this recepatacle to the View’s 120 volt system. The top plug is the “glorified extension chord” available only when parked, and the bottom plug is part of the coach power system that can be used while driving using the inverter or when plugged into shore power. More on this “bonus” circuit a bit later.
For the wiring running aft towards the electrical bay, again starting from the Truma heater bay, I simply laid the cable in the under-bed equipment trough and turned the corner to the square cutout in the floor below the shower. From here, you have made it to the electrical bay. (To visualize this area, have a look at the “Cold Weather Capability” description found on the mods page.) I covered up the yellow 12/2 20 amp cable with some wire loom to complete this portion of the run.
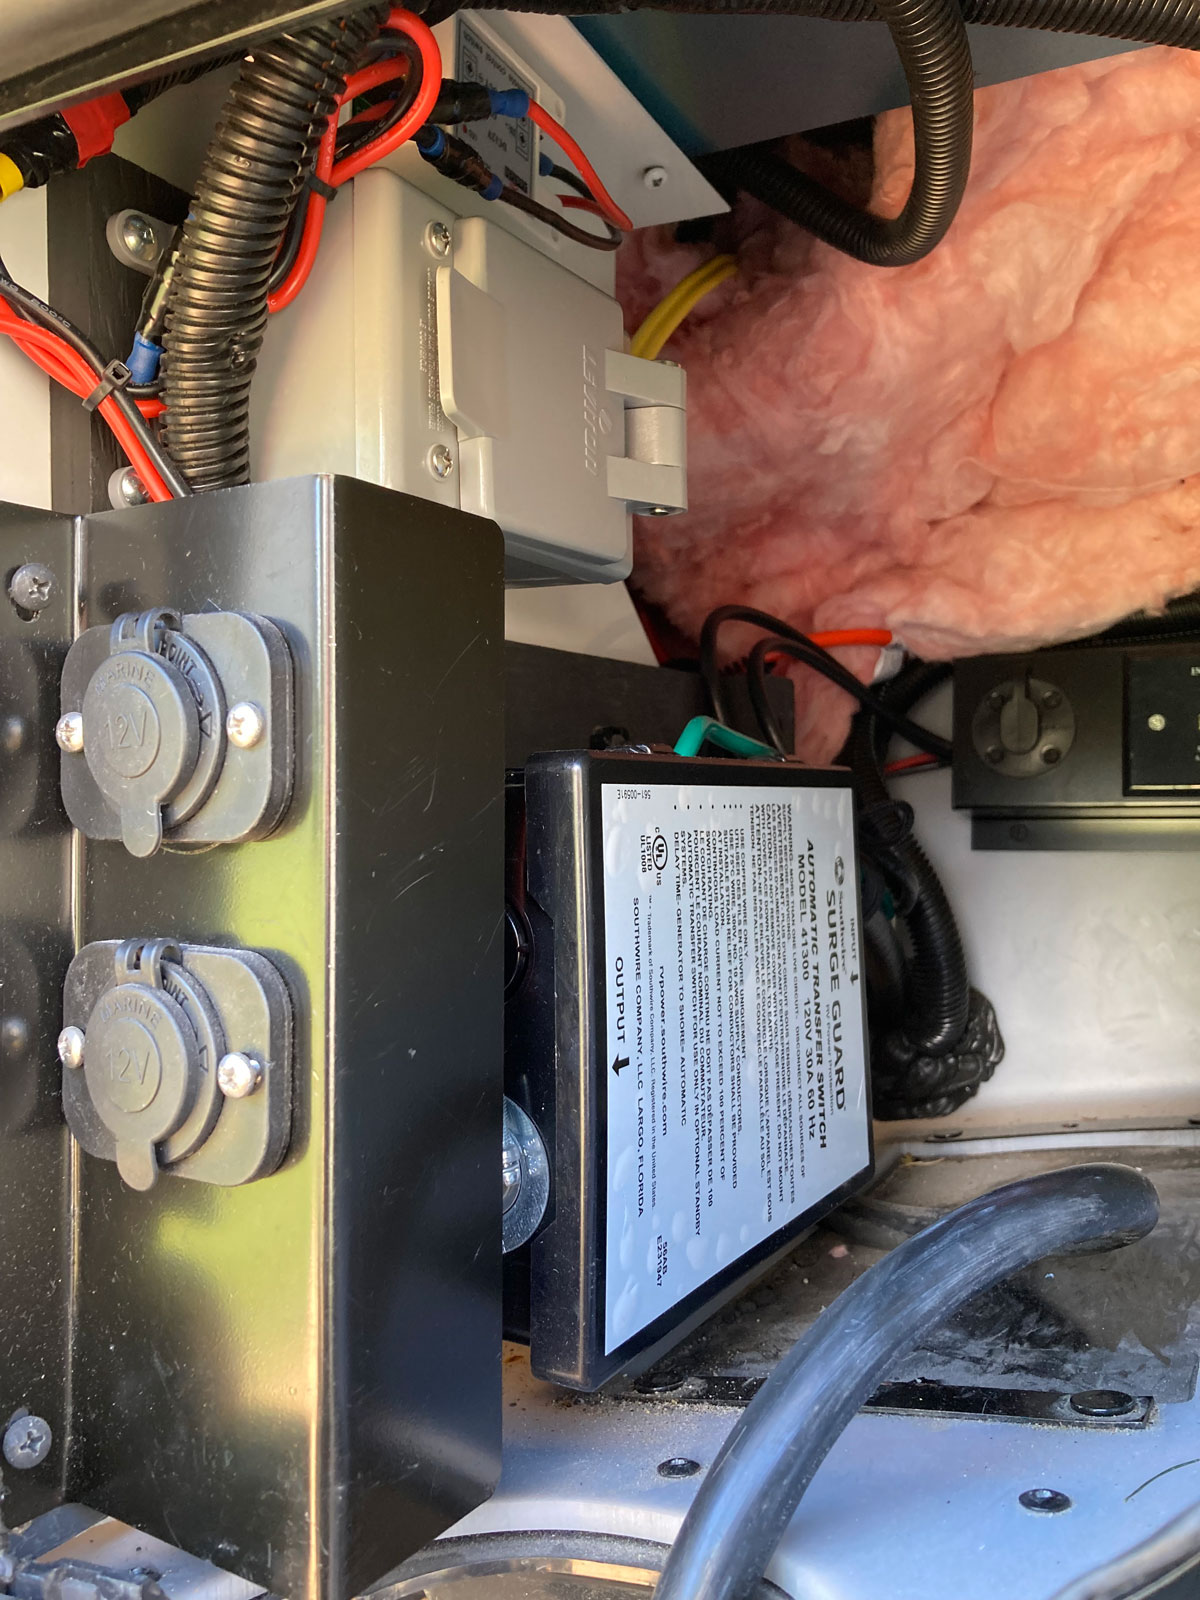
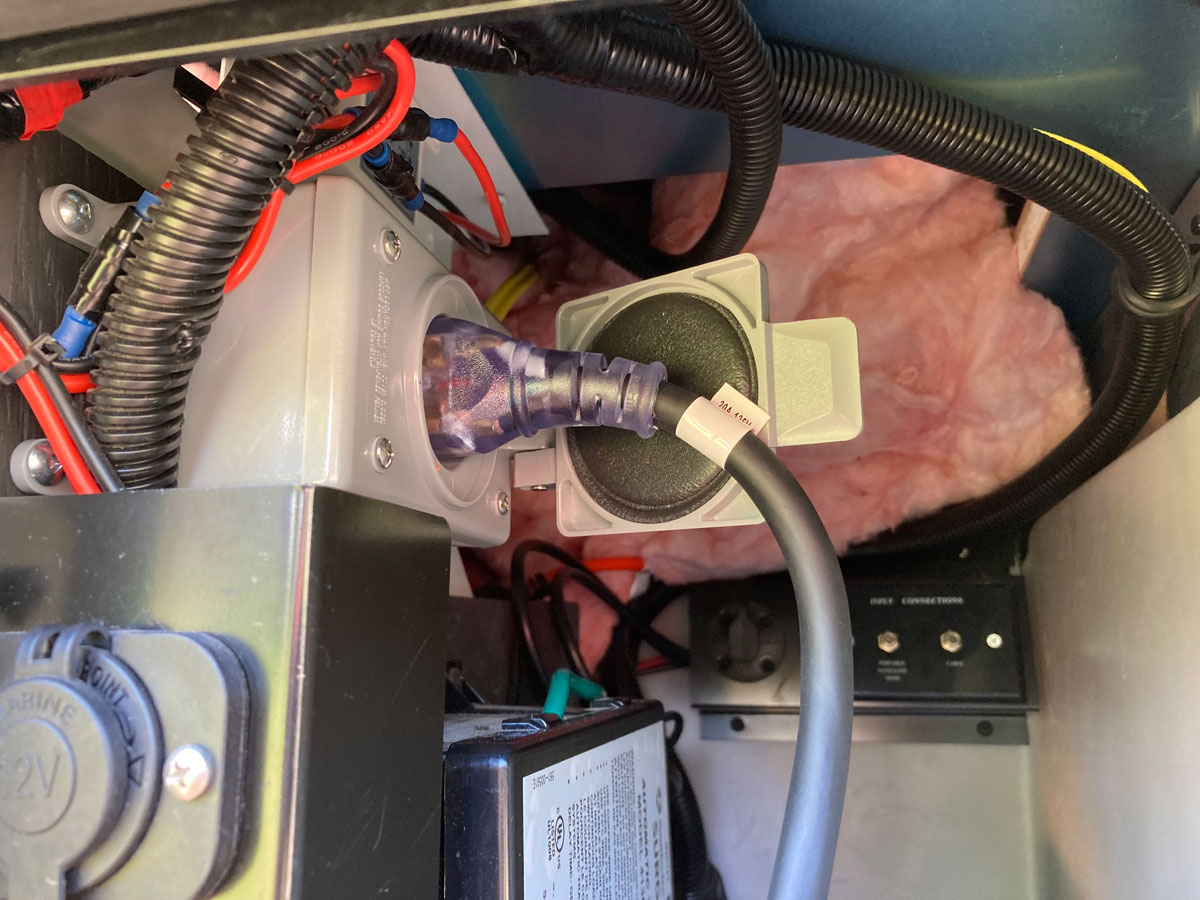
The last piece of the mod is the installation of the 20 amp rated Inlet. To make the installation easy, I mounted the inlet box on a piece of painted 1/2” plywood, and used two part “Gorilla” epoxy to mount it to the divider between the wet and electrical bays. The plywood base sits comfortably on the lip of the base that holds the automatic transfer switch, and I positioned it as outboard as I could for ease of access. (The other bits of wiring and 12 volt plugs in the area are associated with our macerator pump system.)
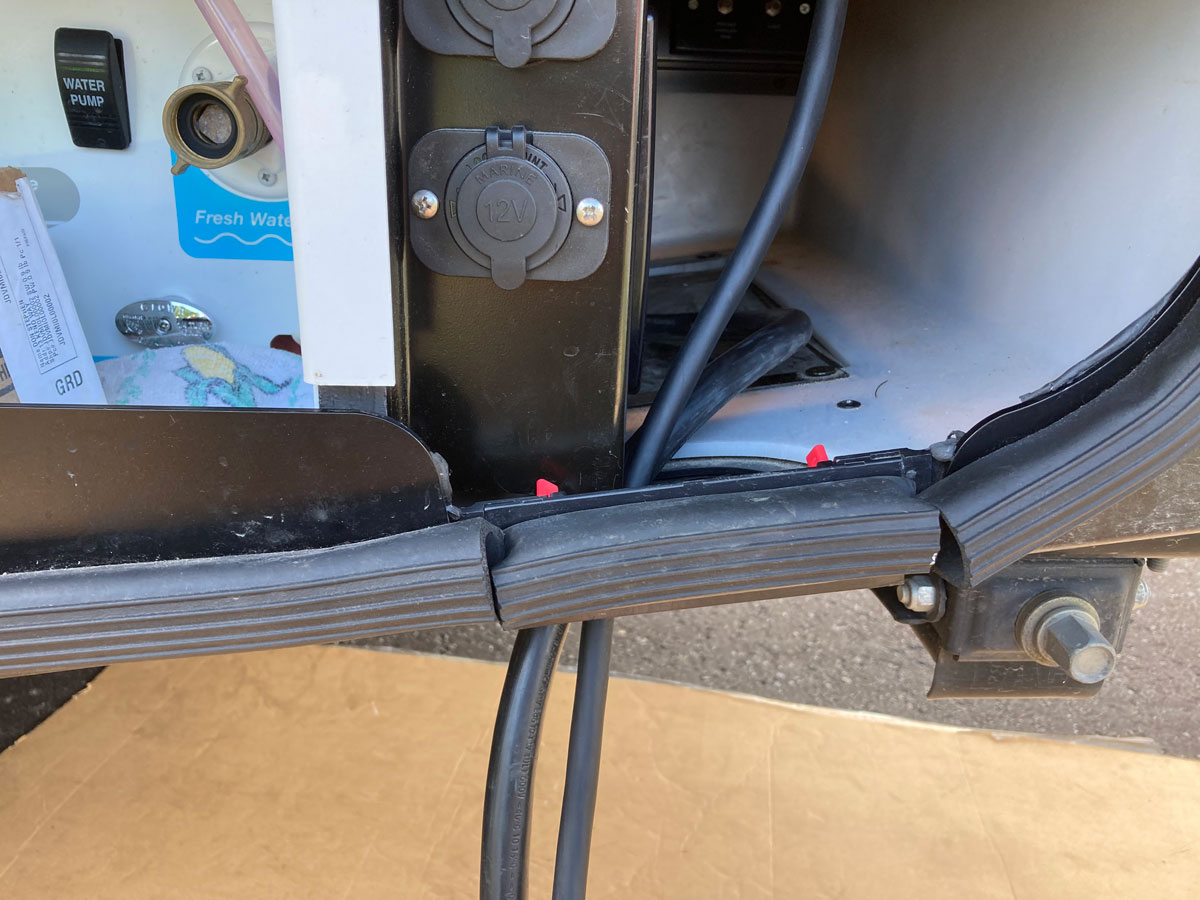
The next three photos show the inlet, with the extension cord plugged in and its exit point that is shared with the coach’s 30 amp cord.
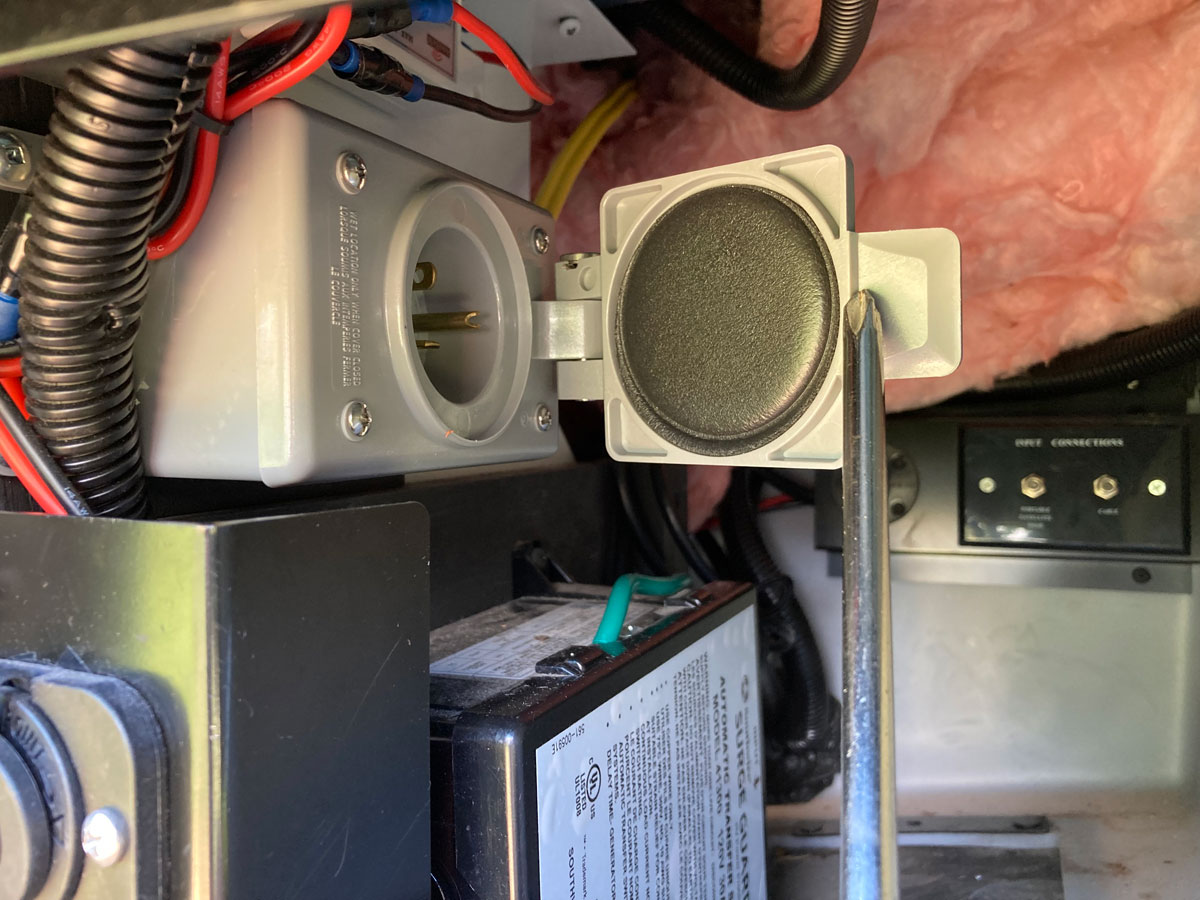
For the times when the additional campground post power is only 15 amps, I picked up a 20 amp to 15 amp block adapter to make the connection universal.

Again, this mod was not difficult, but is not super quick becuase of the long cable run required. It really is worth doing, and I highly recommend this one for RVers in the north who rely on supplementary electric heat as it frees up the plug juggling that you sometimes have to do.
More on the “bonus” circuit I wired up to this receptacle - As I mentioned earlier, the induction cooktop has a dedicated 20 amp plug under the sink. This 20 amp coach circuit is shared with the microwave. We don’t usually operate with the induction cooktop plugged in, as we found it a nuisance to have it beeping at us everytime it powered up after using the microwave. (Also, it fired up one time when we left something metal on it surface. Yikes.) It is tempting to use this plug as another source of power for something else, but it is defintitely not in a handy location. Knowing we would only use one plug of the glorified extension cord circuit, I hooked up the other plug on this receptacle to the induction cooktop circuit. If someone is working on a laptop while seated on a cab chair, or if we need to run the lithium battery heater, the bottom plug can be utilized for coach power. The yellow dot in the photo is for the auxillary extension chord circuit, and the green dot is for coach power available on either the inverter or campground shore power.
The details for this “bonus” outlet mod can be found here:
Happy to say all working as planned.